This year is the first we’ve had a child in school. Granted, it is just preschool, but it…
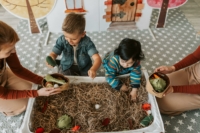
This year is the first we’ve had a child in school. Granted, it is just preschool, but it was a big deal for this sensitive mama to send her little girl off into the world even if it is for just a few hours each day. My daughter’s teacher has been a wonderful influence in our lives, encouraging her learning, honing in on her strong suits, encouraging and celebrating her friendships. Naturally, we wanted to give this first teacher in our lives a gift at Christmas. And, I wanted my daughter involved in what we did and I wanted to give something personalized. We made chocolate pretzel Santa hats, Christmas tree crayons, and a sharpie mug (and then included a gift certificate to Starbucks and a small bag of Christmas blend).
All of these DIY DIY Teacher Christmas Gift ideas can be considered play-based learning because they involve hand-eye coordination, colour recognition, fine motor skills, in some cases pincer grip (needed for printing) and more!
If you’d like to make your own versions, here is what we did!
This post contains affiliate links for your convenience. I receive a small commission. However the price you pay is the same.
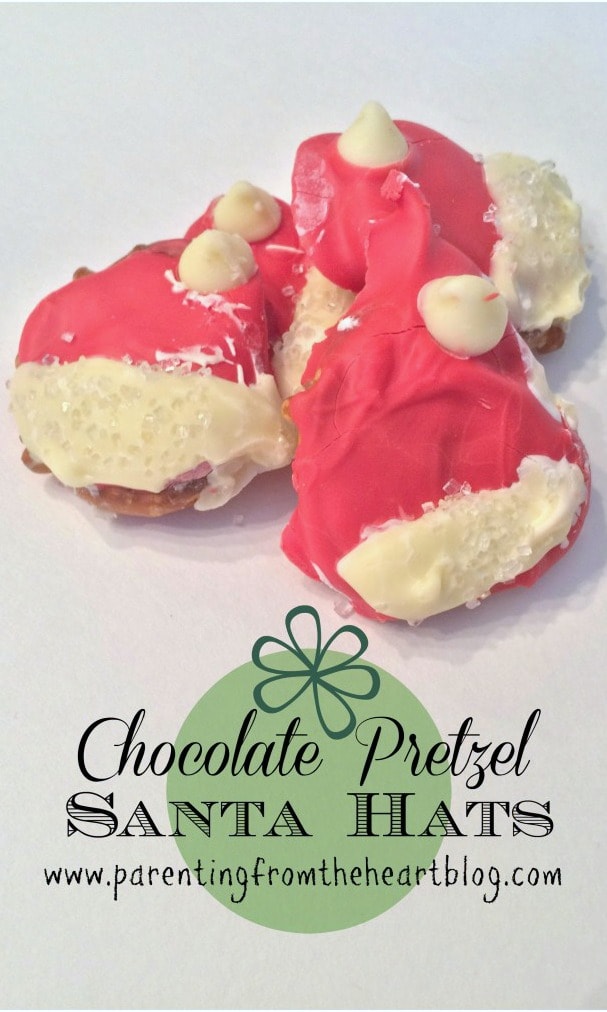
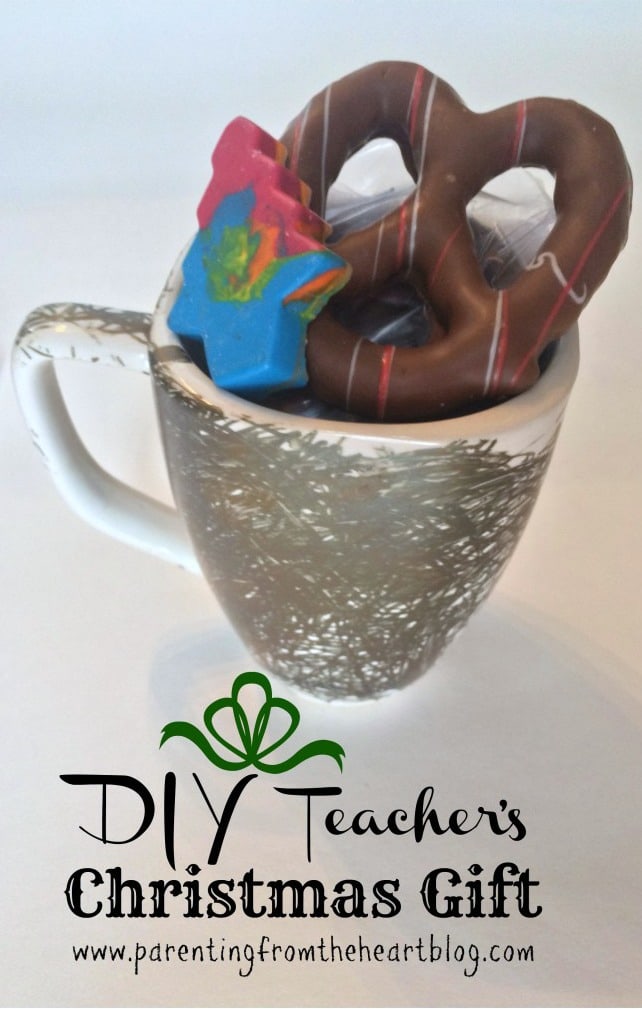
We melted the red chocolate melts according to these steps. Laid out the pretzels on a plate lined with parchment paper. Dropped about a spoon full of red chocolate on each of the pretzels. Then we melted the white chocolate melts, spooned half the quantity of the red melts onto one-half of the pretzels. Then my daughter placed a white chocolate chip at the tip of each “hat”. Finally, she dusted the bottoms with sugar crystals. While ours definitely look like a toddler (and my not-so-steady hand) made them, this post from Stop Looking Get Cookin’ is the original source of the idea and contains BEAUTIFUL photos of how well they can turn out! To make standard chocolate pretzels, check out this post from Mama by Fire.

Saving broke crayons opens up the possibility for so many crafts. We’ve used ours to decorate pumpkins and colour playdough. Making new crayons is one of the simplest things you can do and it will surely impress the little people in your life!
The kids peeled the broken crayons and selected their colour combinations. They filled up the molds about half way. I had the oven preset to 325 degrees. I put the molds with the crayons in them onto a cookie sheet (otherwise, the silicon is too malleable and you’ll risk spilling crayons). I placed them in the oven and then checked on them after 5 mins and then every two mins after that. Once they’ve melted, remove immediately. If they’re left too long all of the colours will run into one another making it look really muddy. Let set. Once almost completely solid or completely solid, pop out of molds and colour away!
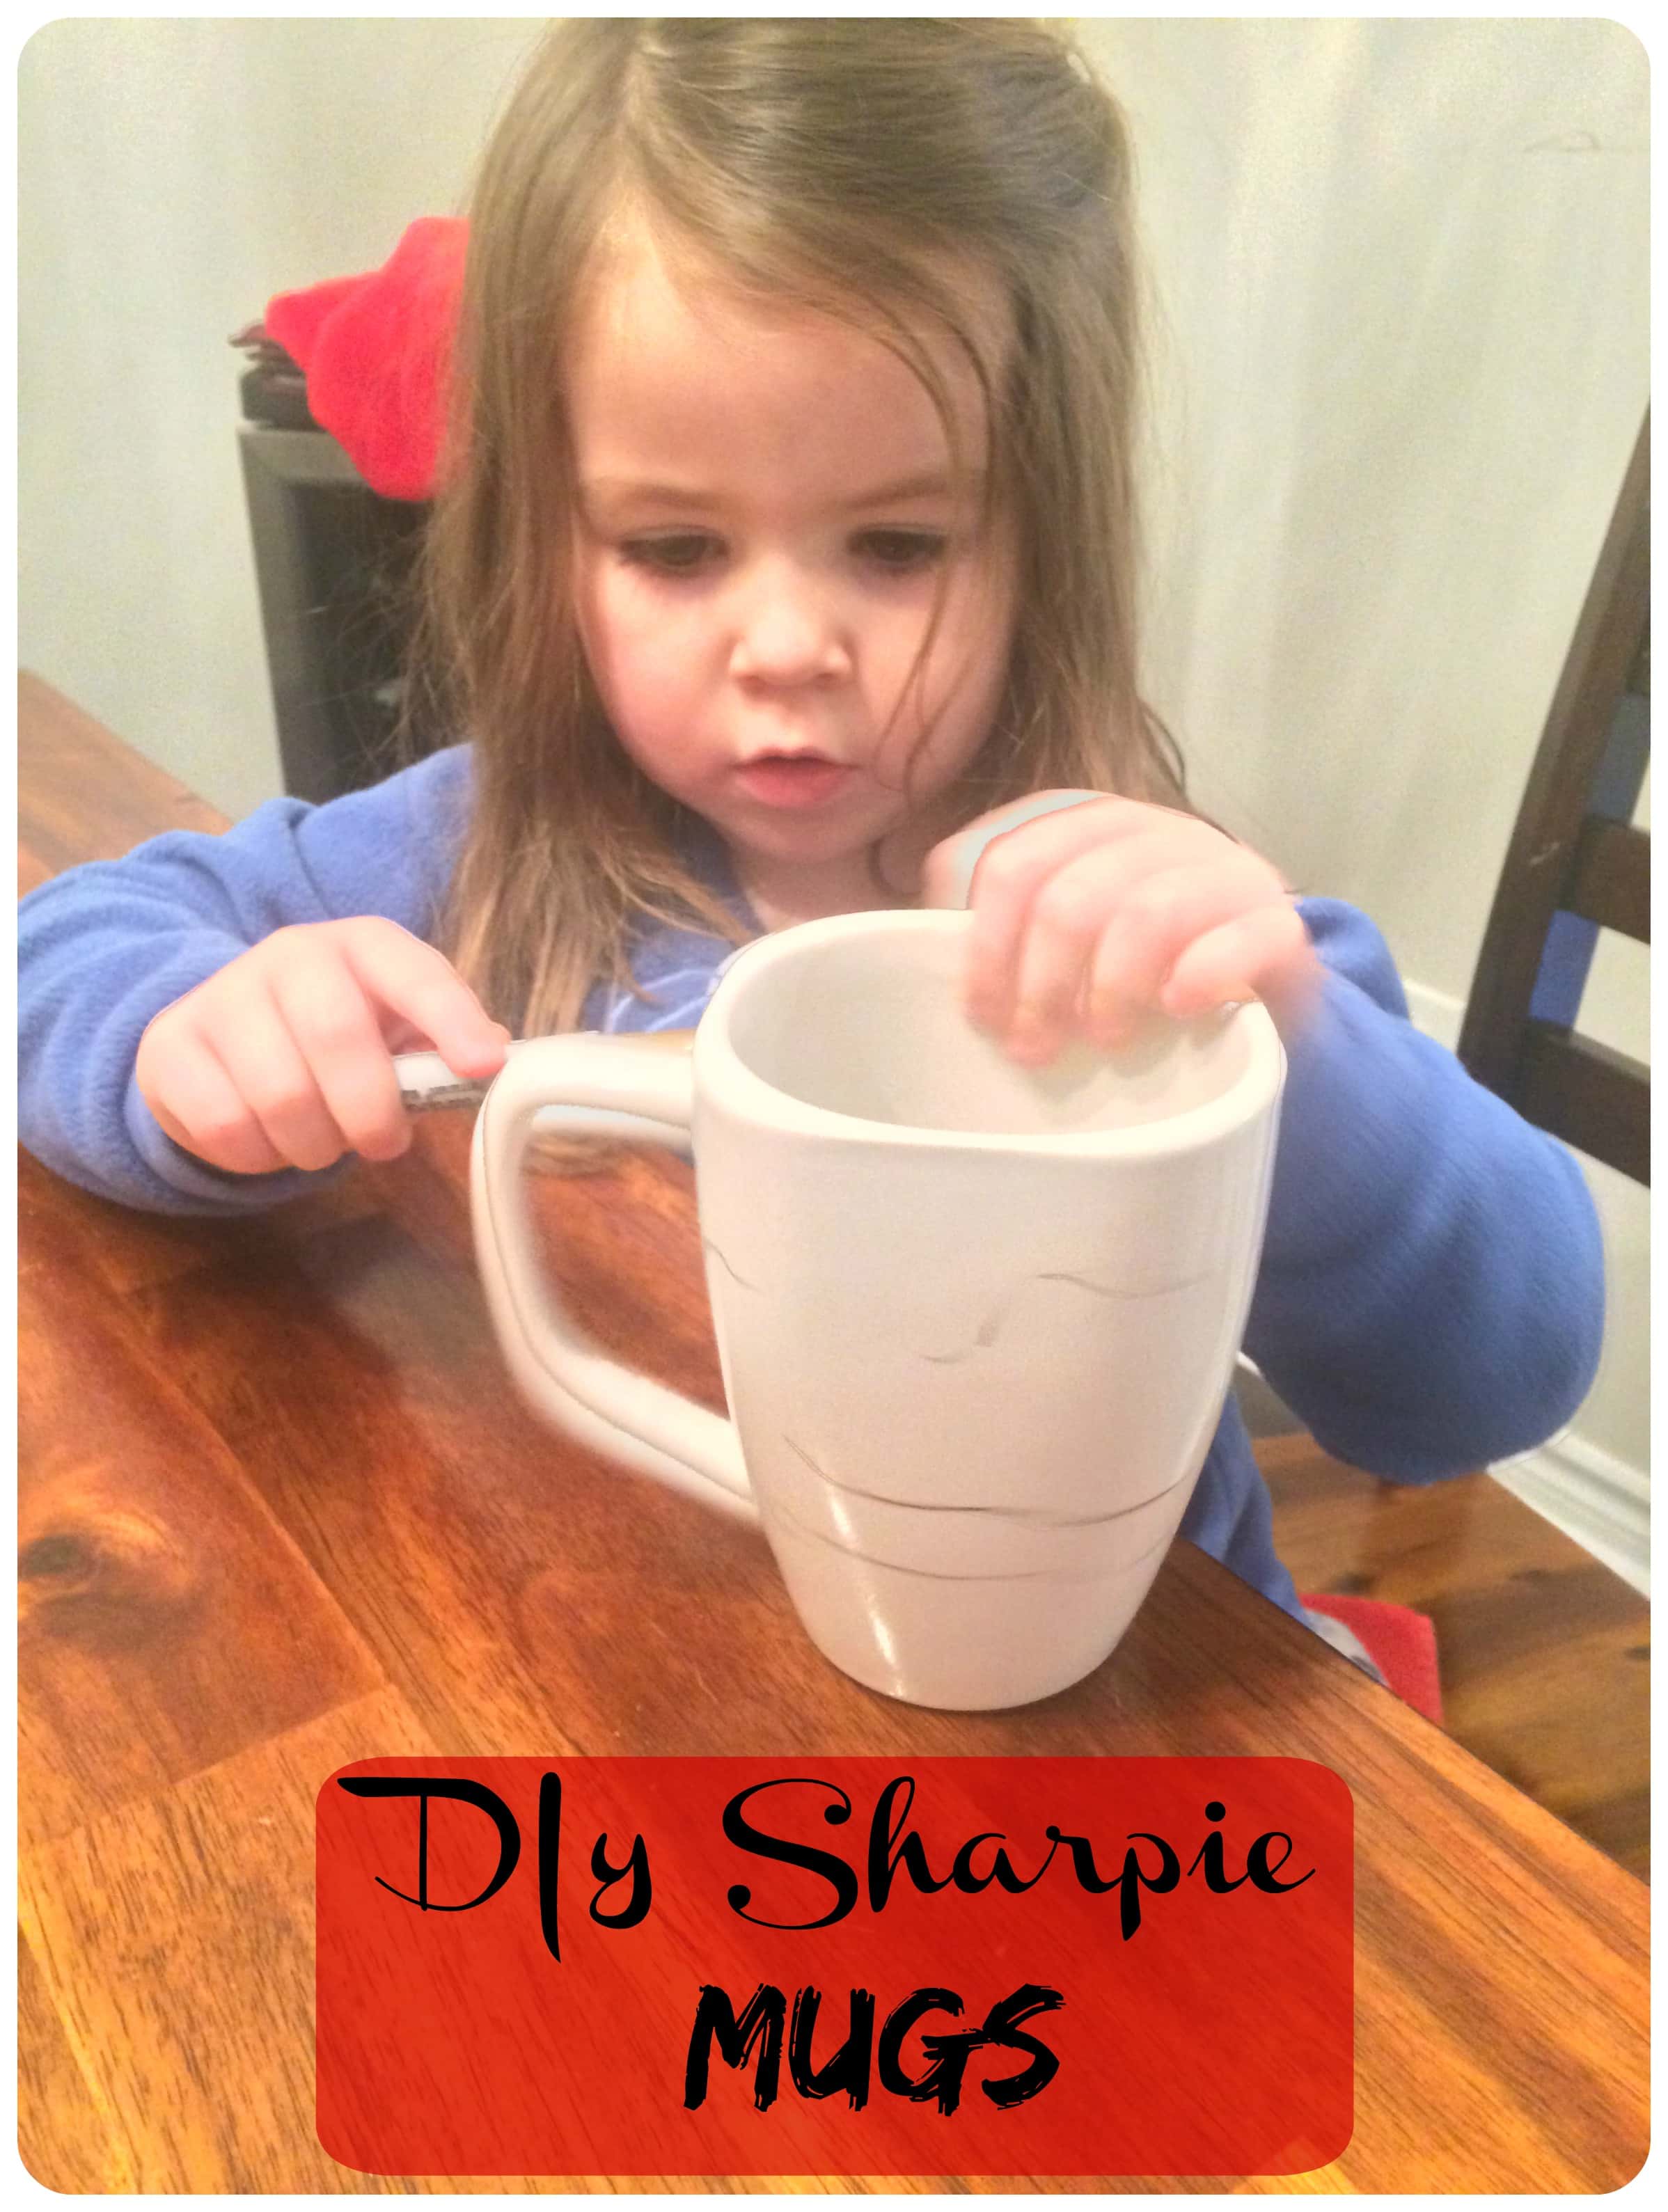
We took an oil-based Sharpie (I put a placemat under my daughter), and she drew all over the mug. Once finished, I placed it in the oven on a pan at 425. I’ve heard it’s best to place it in the oven before it is preheated. Leave in there for 30 mins. Remove from heat and let cool.
Giftedness isn’t just about acing spelling tests or finishing math worksheets early. Psychologists define it as an out‑of‑the‑ordinary…
Toddlers can be confusing, to say the least. One moment they’re clinging to your leg like a baby…
Wet days don’t have to mean bored little ones. With fun indoor kids activities on rainy days, you…
Parent From Heart Parent From Heart is a group of like-minded moms passionate about positive parenting,
honest motherhood, and creating a supportive community for intentional parenting.
© 2026 by Parent From Heart. All Rights Reserved.