If you’re visiting Parenting from the Heart for the first time, click here to see my Readers’ Favourite…
If you’re visiting Parenting from the Heart for the first time, click here to see my Readers’ Favourite Posts.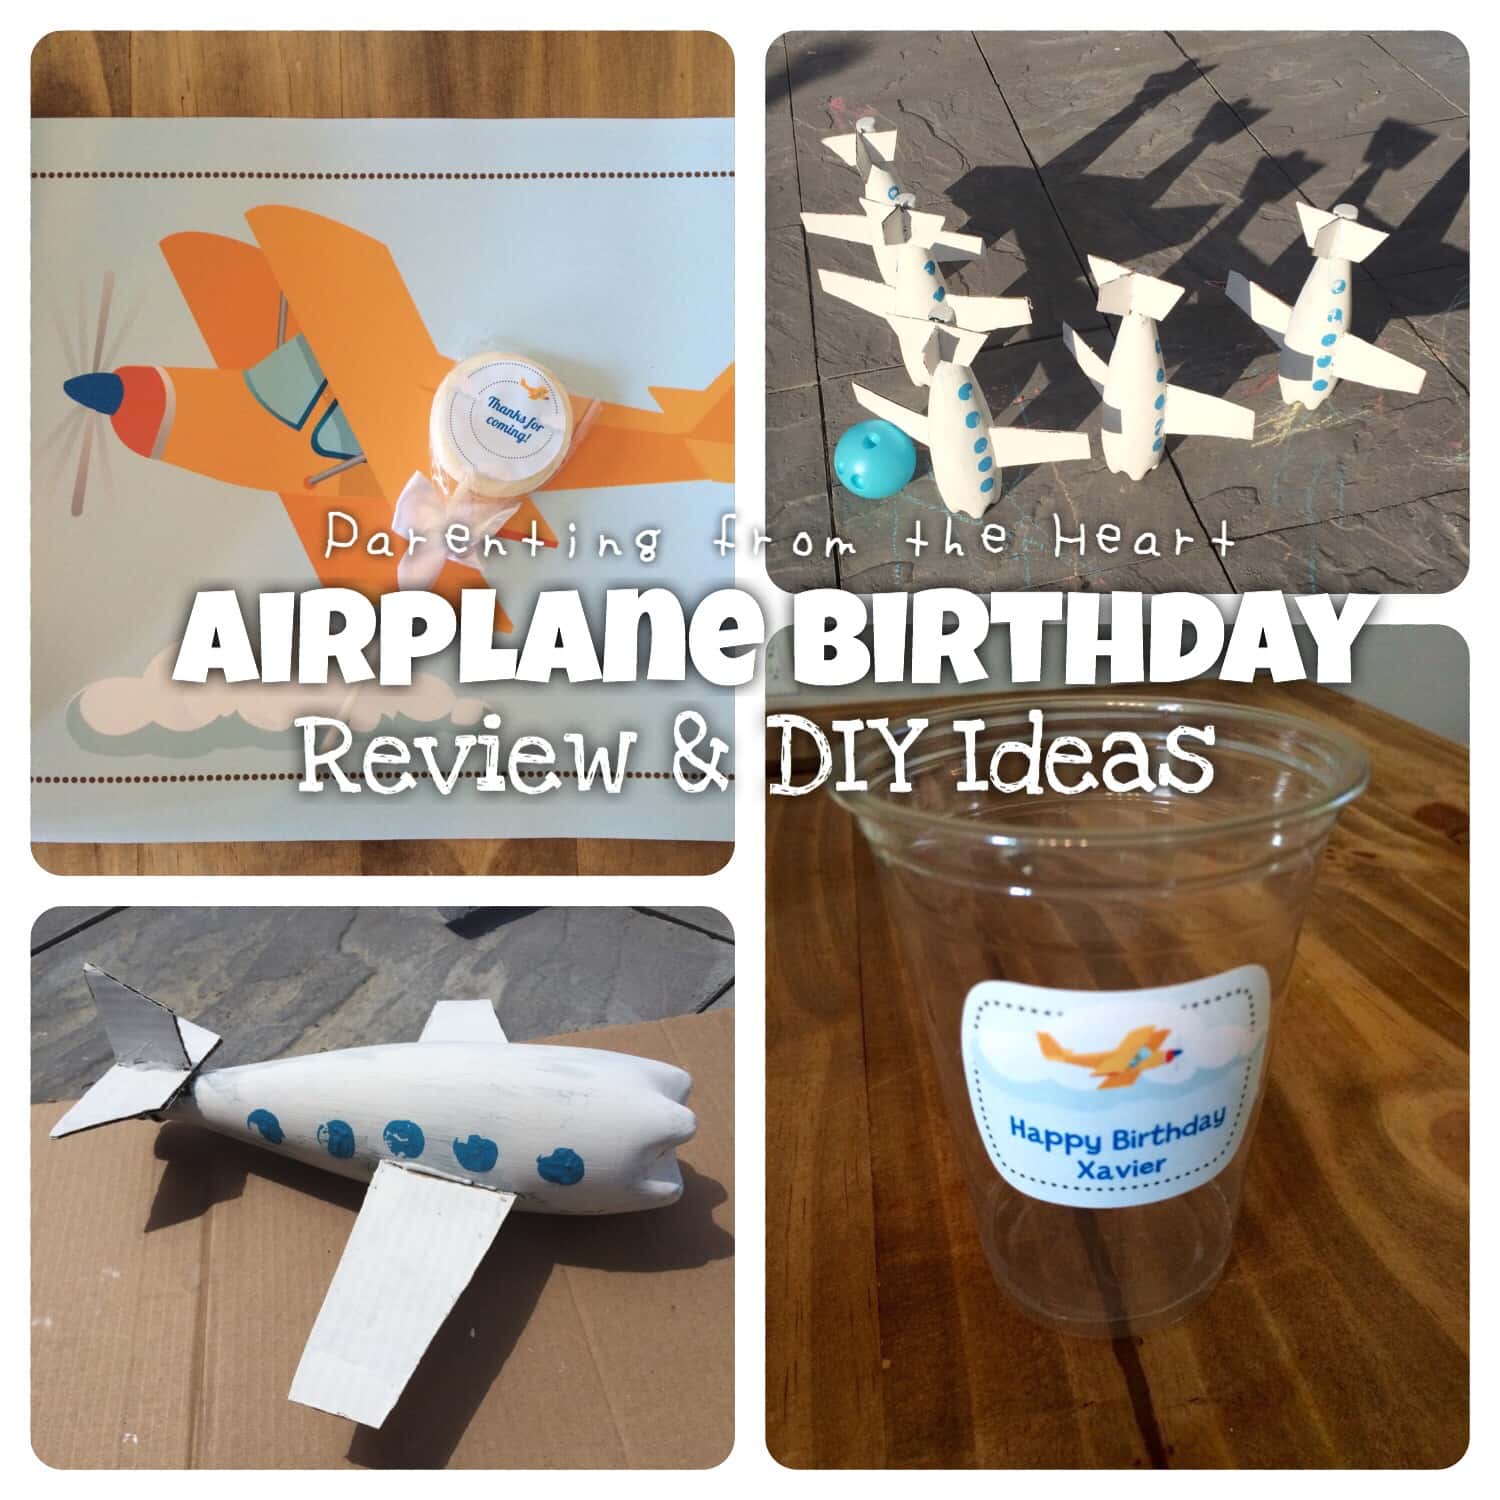
When it has come to my kids’ birthday themes (aside from my daughter choosing Frozen for her third birthday), I have been stuck DIYing the entire thing. While a penguin birthday, which is what we had for my daughter’s second, I understand isn’t the most popular theme, I was so surprised that we weren’t able to find anything Thomas the Train last year at all the obvious places (Target, Walmart, the dollar store…). So I made all the decor. When my son started only referring to his upcoming birthday as “Airplane birthday”, I started looking for decorations early. We had just moved across the country, hadn’t finished unpacking, and I wasn’t up for a full-on DIY party. Then I was fortunate enough to find Candles and Favors, a company based out of the States that also ships to Canada. I have never ordered anything party related online before. What I loved is not only does C&F respond to emails in a very prompt and helpful manner, they also have a live chat that pops up the moment you enter their site and a 1-888 number you can call for help. Customer service is a huge make-or-break for me, and they were nothing short of exceptional. Not only did they offer gorgeous products, every single thing I ordered was personalized. I also liked that though some products are assigned to baby showers, you have the option to choose from either/or because all text is personalized. We got a Birthday banner, wrappers for water bottles (you buy the water bottles), personalized party favour lollipops (lollipops included), stickers that I used on plastic cups, other signs, and goodie bags… Basically everything to make my party hosting life so much easier.

Seriously, after just moving with two little kids, this order from C&F was a Godsend. My only piece of criticism is that I would have loved adhesive to come with the banner, and the product to come with instructions or labeling. I was able to figure out what to do with everything really easily, but I can imagine some people not sure what stickers go with what, or unsure of how to fasten the water bottle labels. These are very minor criticisms as I was so happy with what we got and had nothing but compliments about the decor. To get a sense of the wide array of products they sell, I highly recommend following them on Instagram to see their products and keep up-to-date on their deals and other offers.
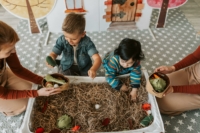
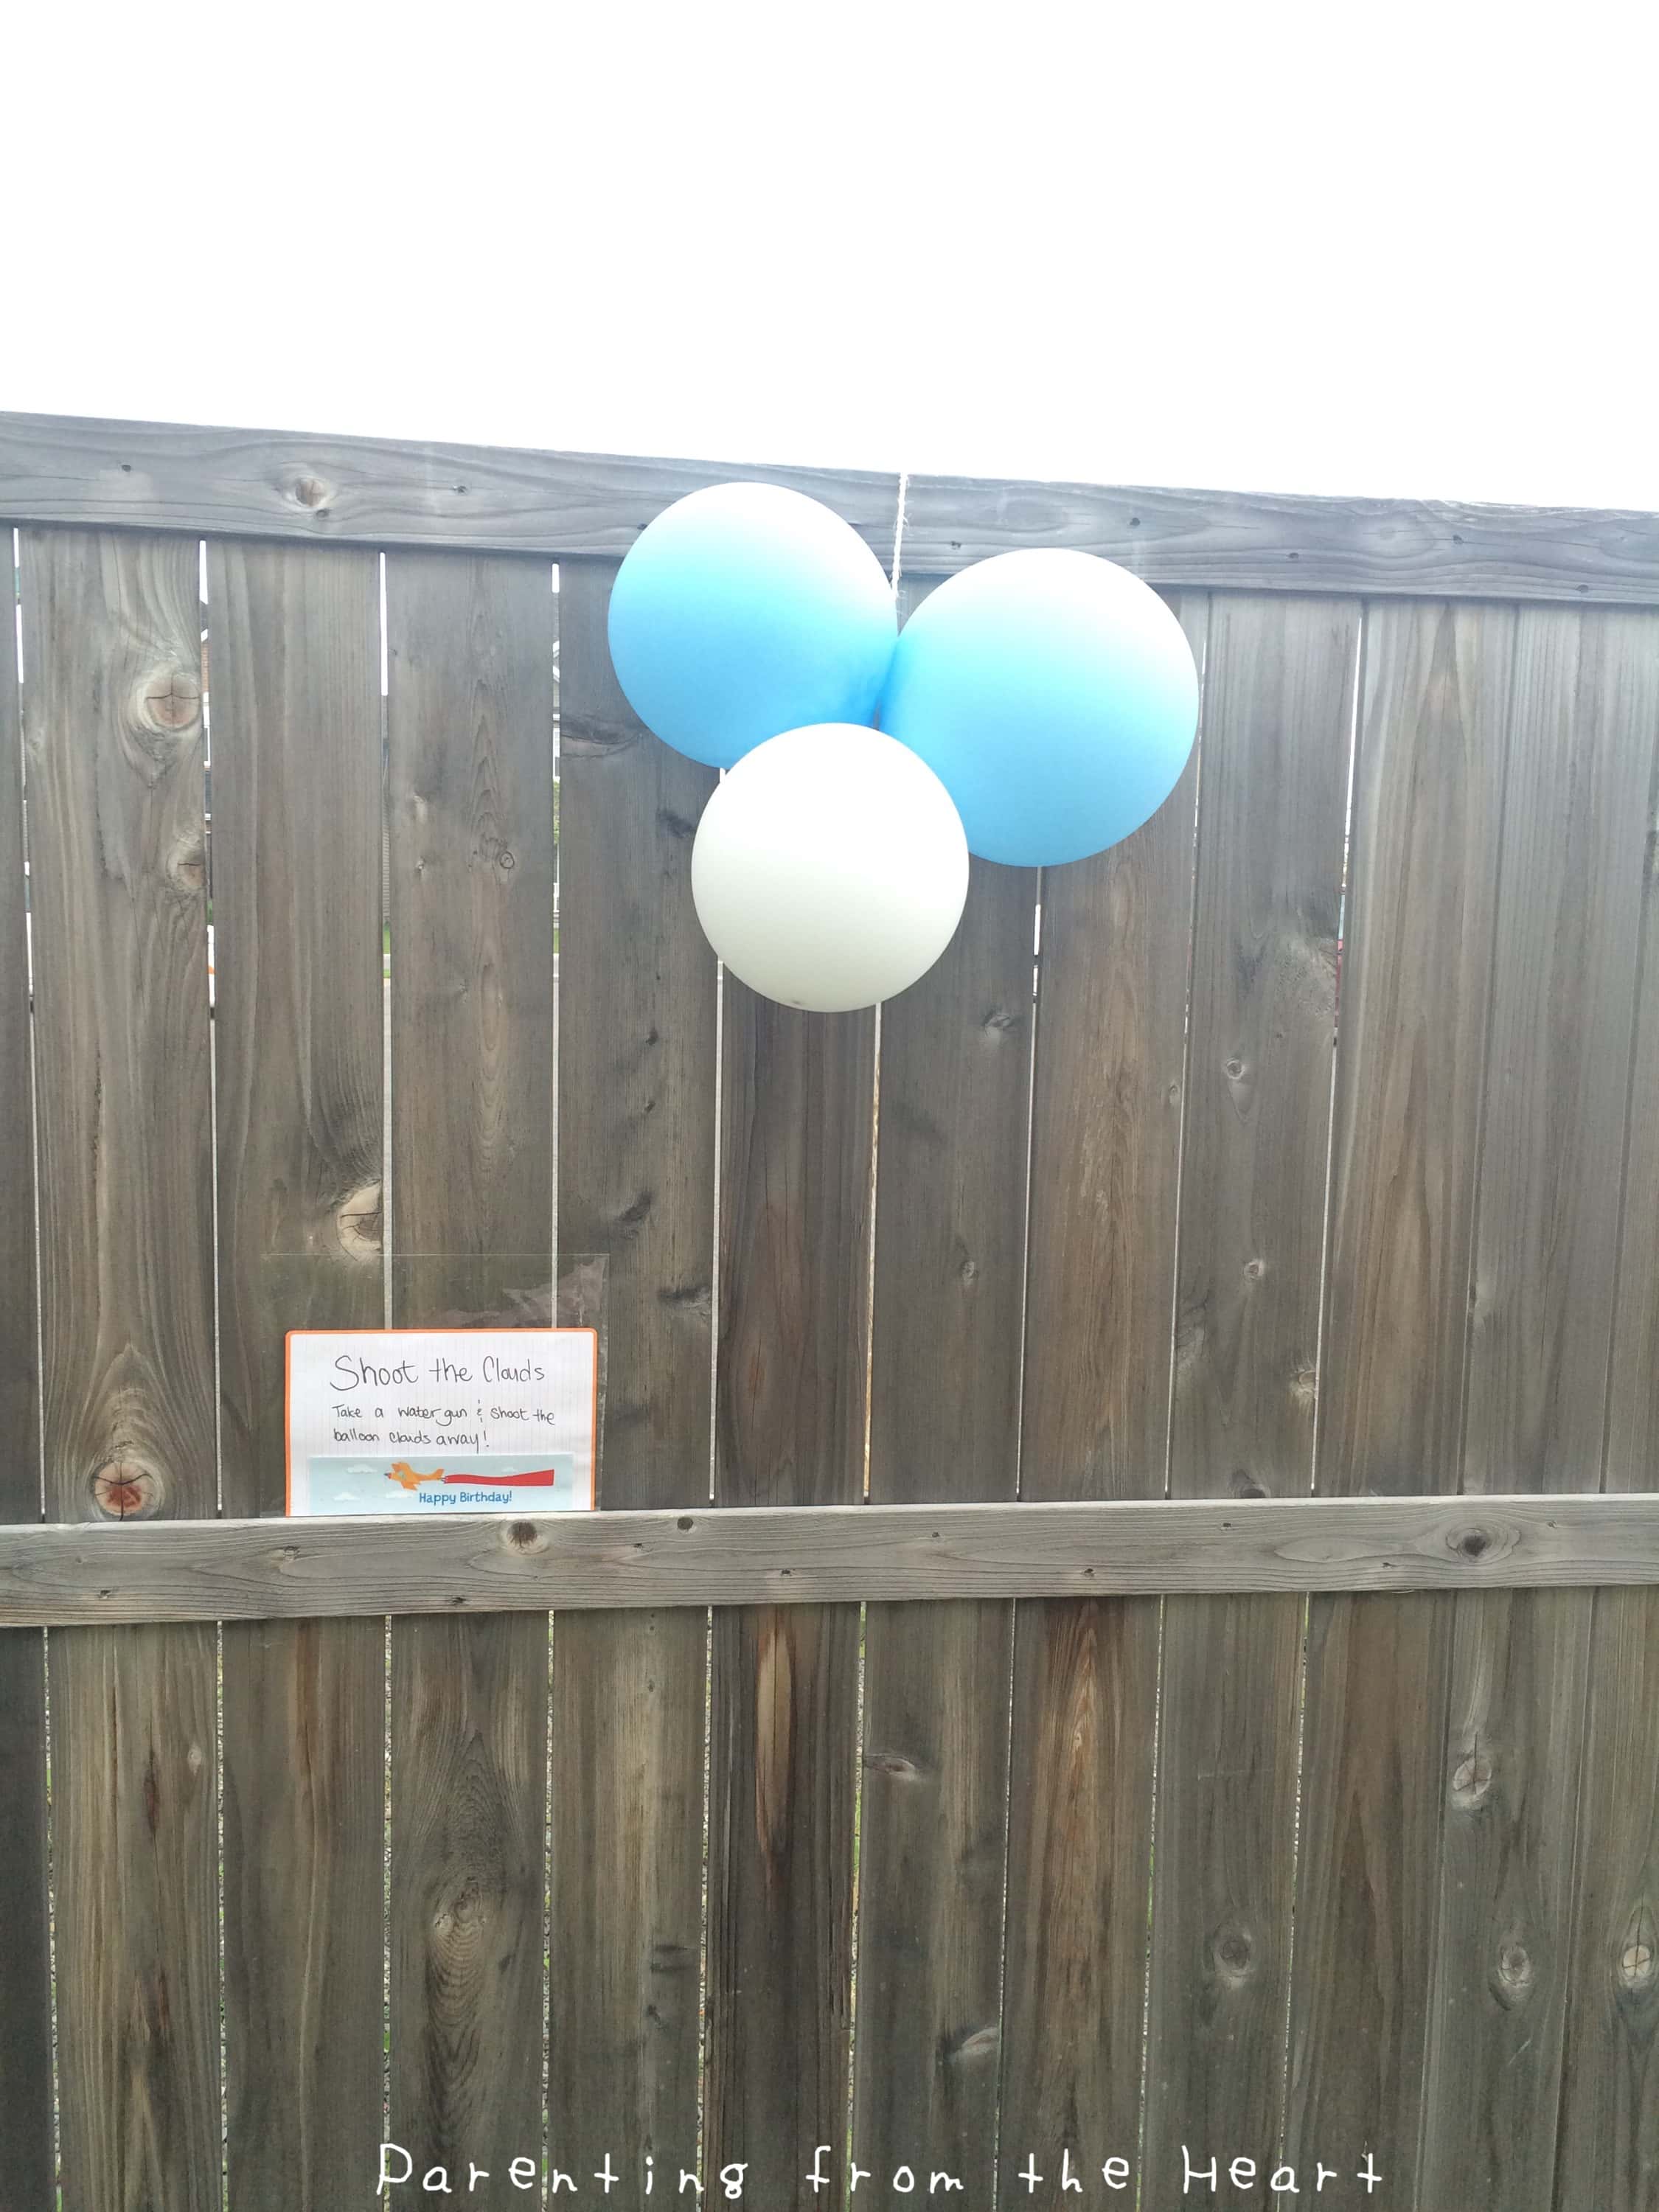
Despite getting such great products, I couldn’t avoid the itch to DIY. For the first time, I was going to be hosting kids older than my own, so I really wanted to have some activities for them to enjoy. Here are two activities we came up with for our two-year-old to six-year-old crowd.
If you’re using clear bottles then, you don’t have to paint the outside of the bottles as we did. You can squirt about a tablespoon worth of white paint into each bottle, tighten the lid, and shake them until the bottles are covered from the inside with paint. Then, unscrew cap to let dry. You may need to shake each bottle a couple of times while they are drying as paint will pool towards the bottom. If you choose this method, put the rice/ lentils in to weight your bottles down in after the paint has dried.
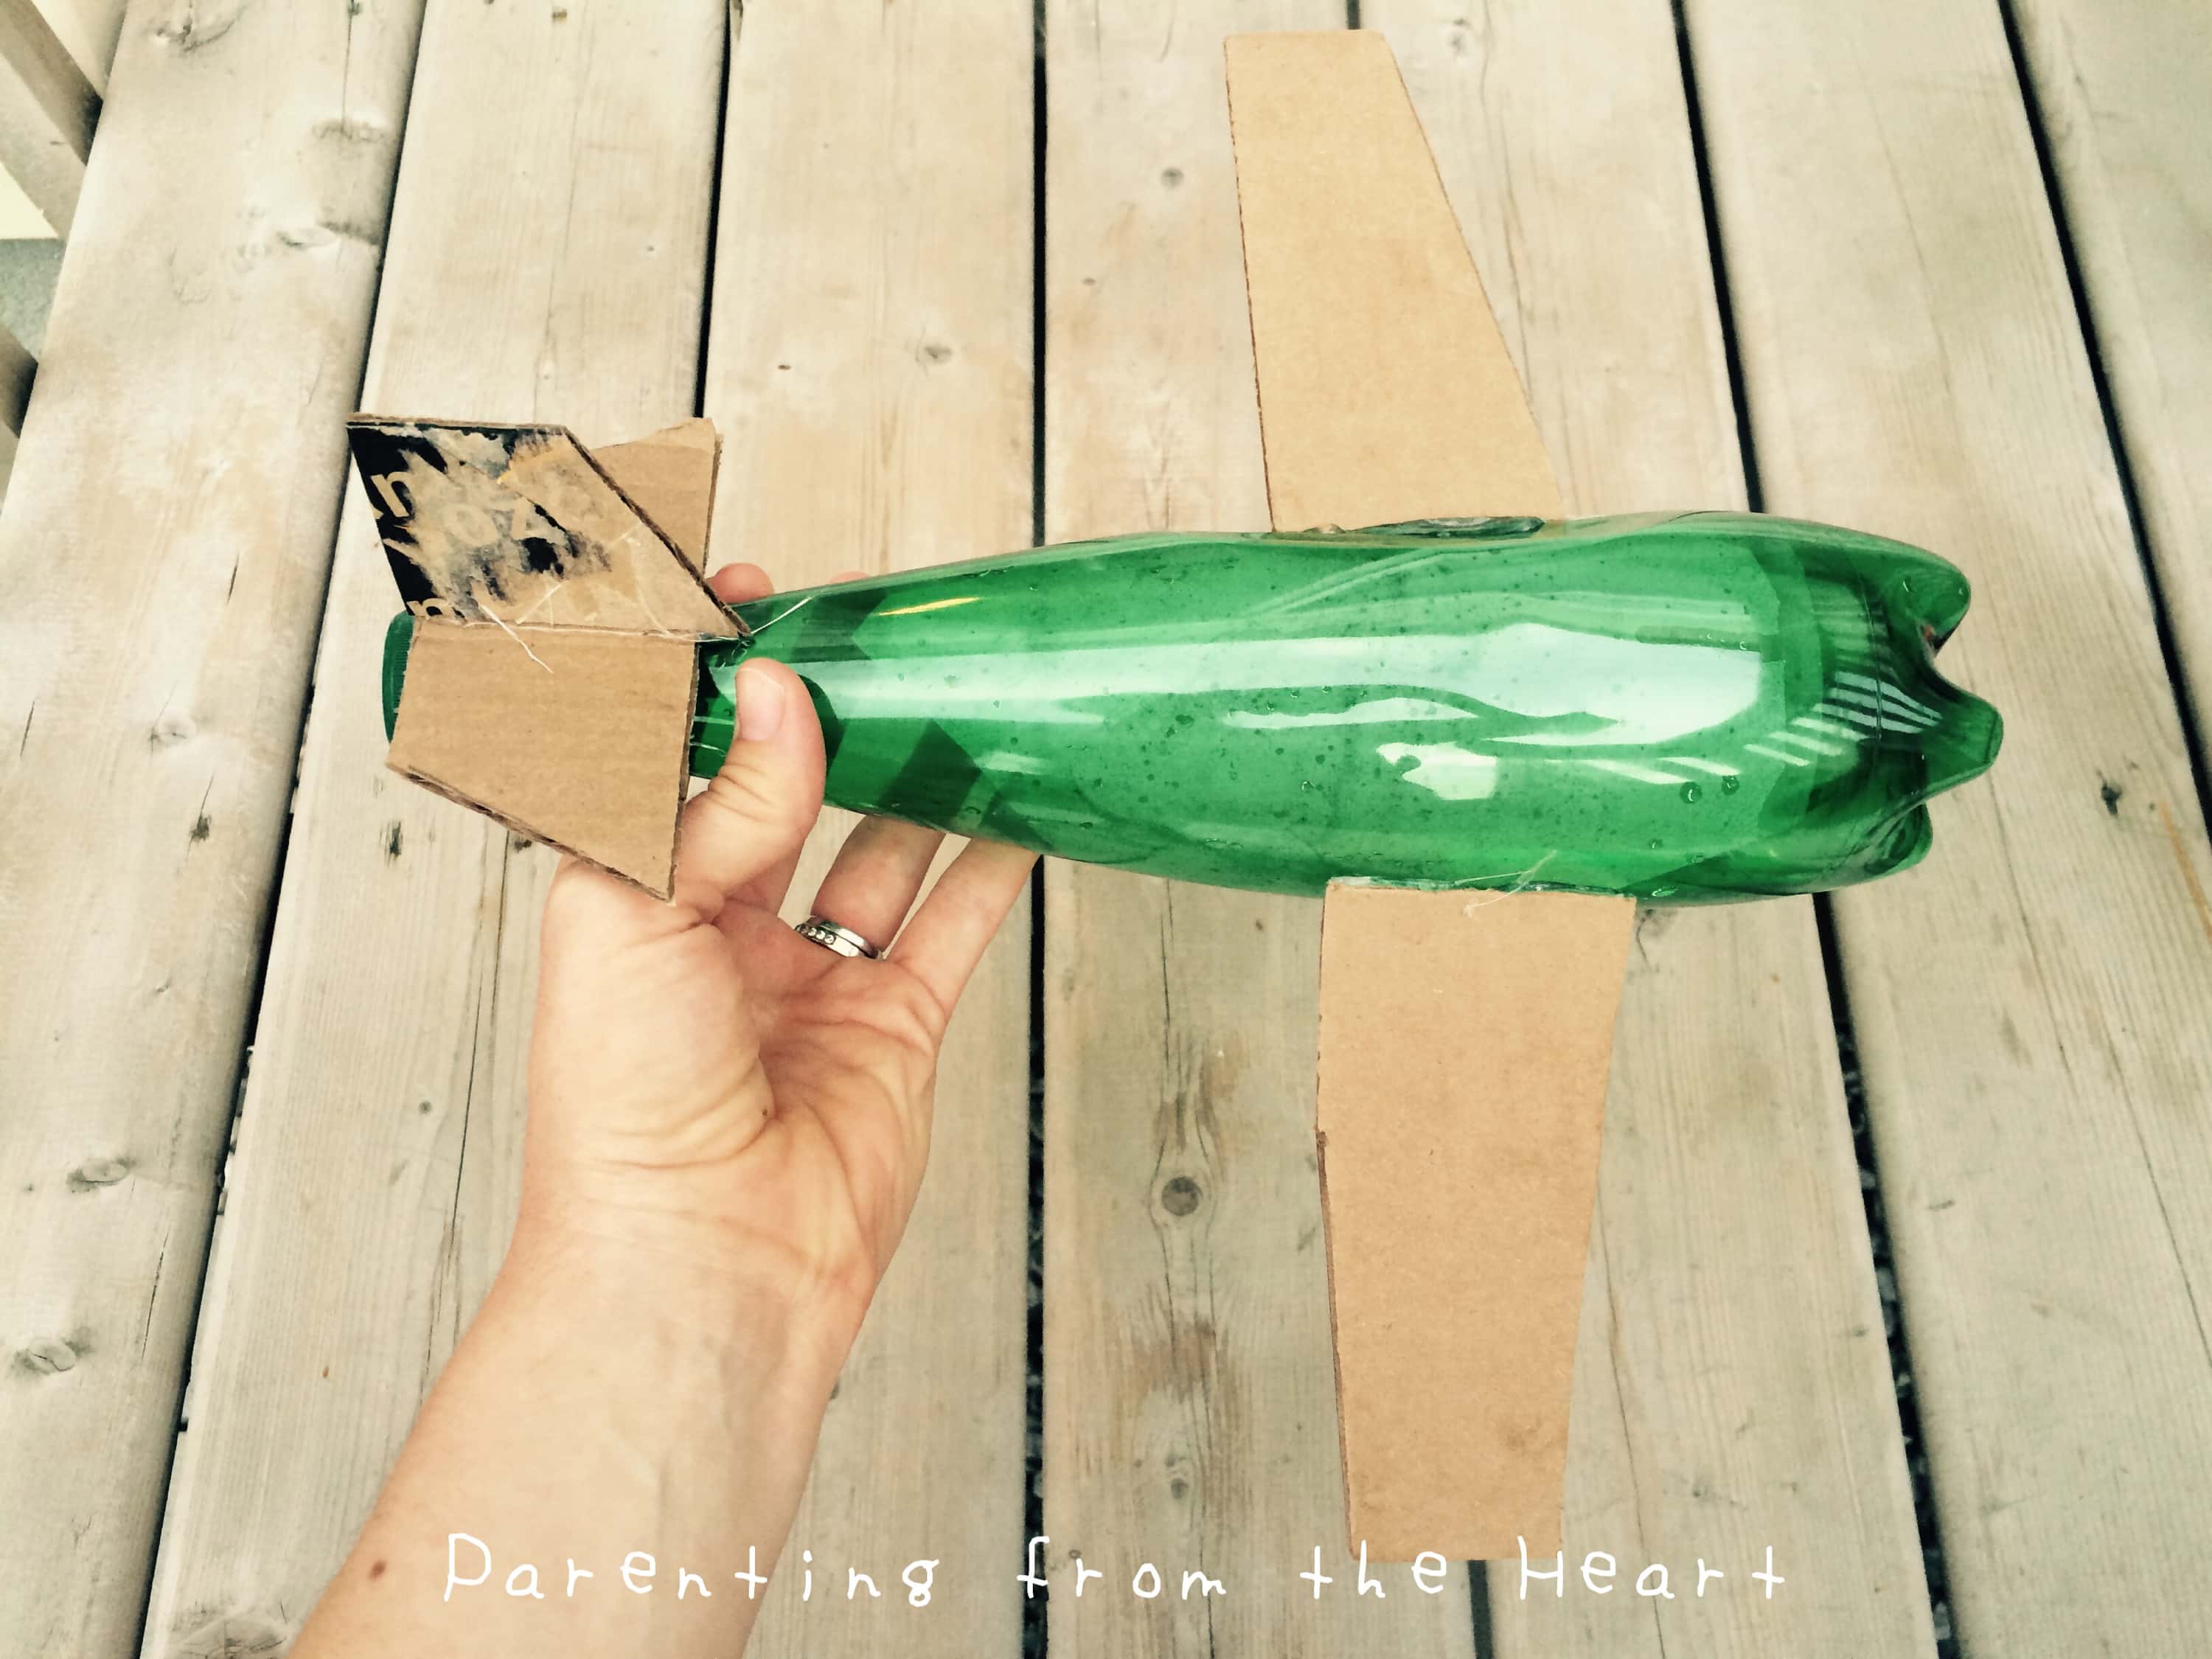
Because we used Perrier bottles which are translucent green, we needed to paint them on the outside (spray paint would work too, we just didn’t have any). If painting on the outside, start by filling about 1/8 – 1/4 full of water, lentils, rice or any other medium to give the bottoms weight. This prevents them from being blown over easily. Then, move on to cutting out the cardboard wings and tails.
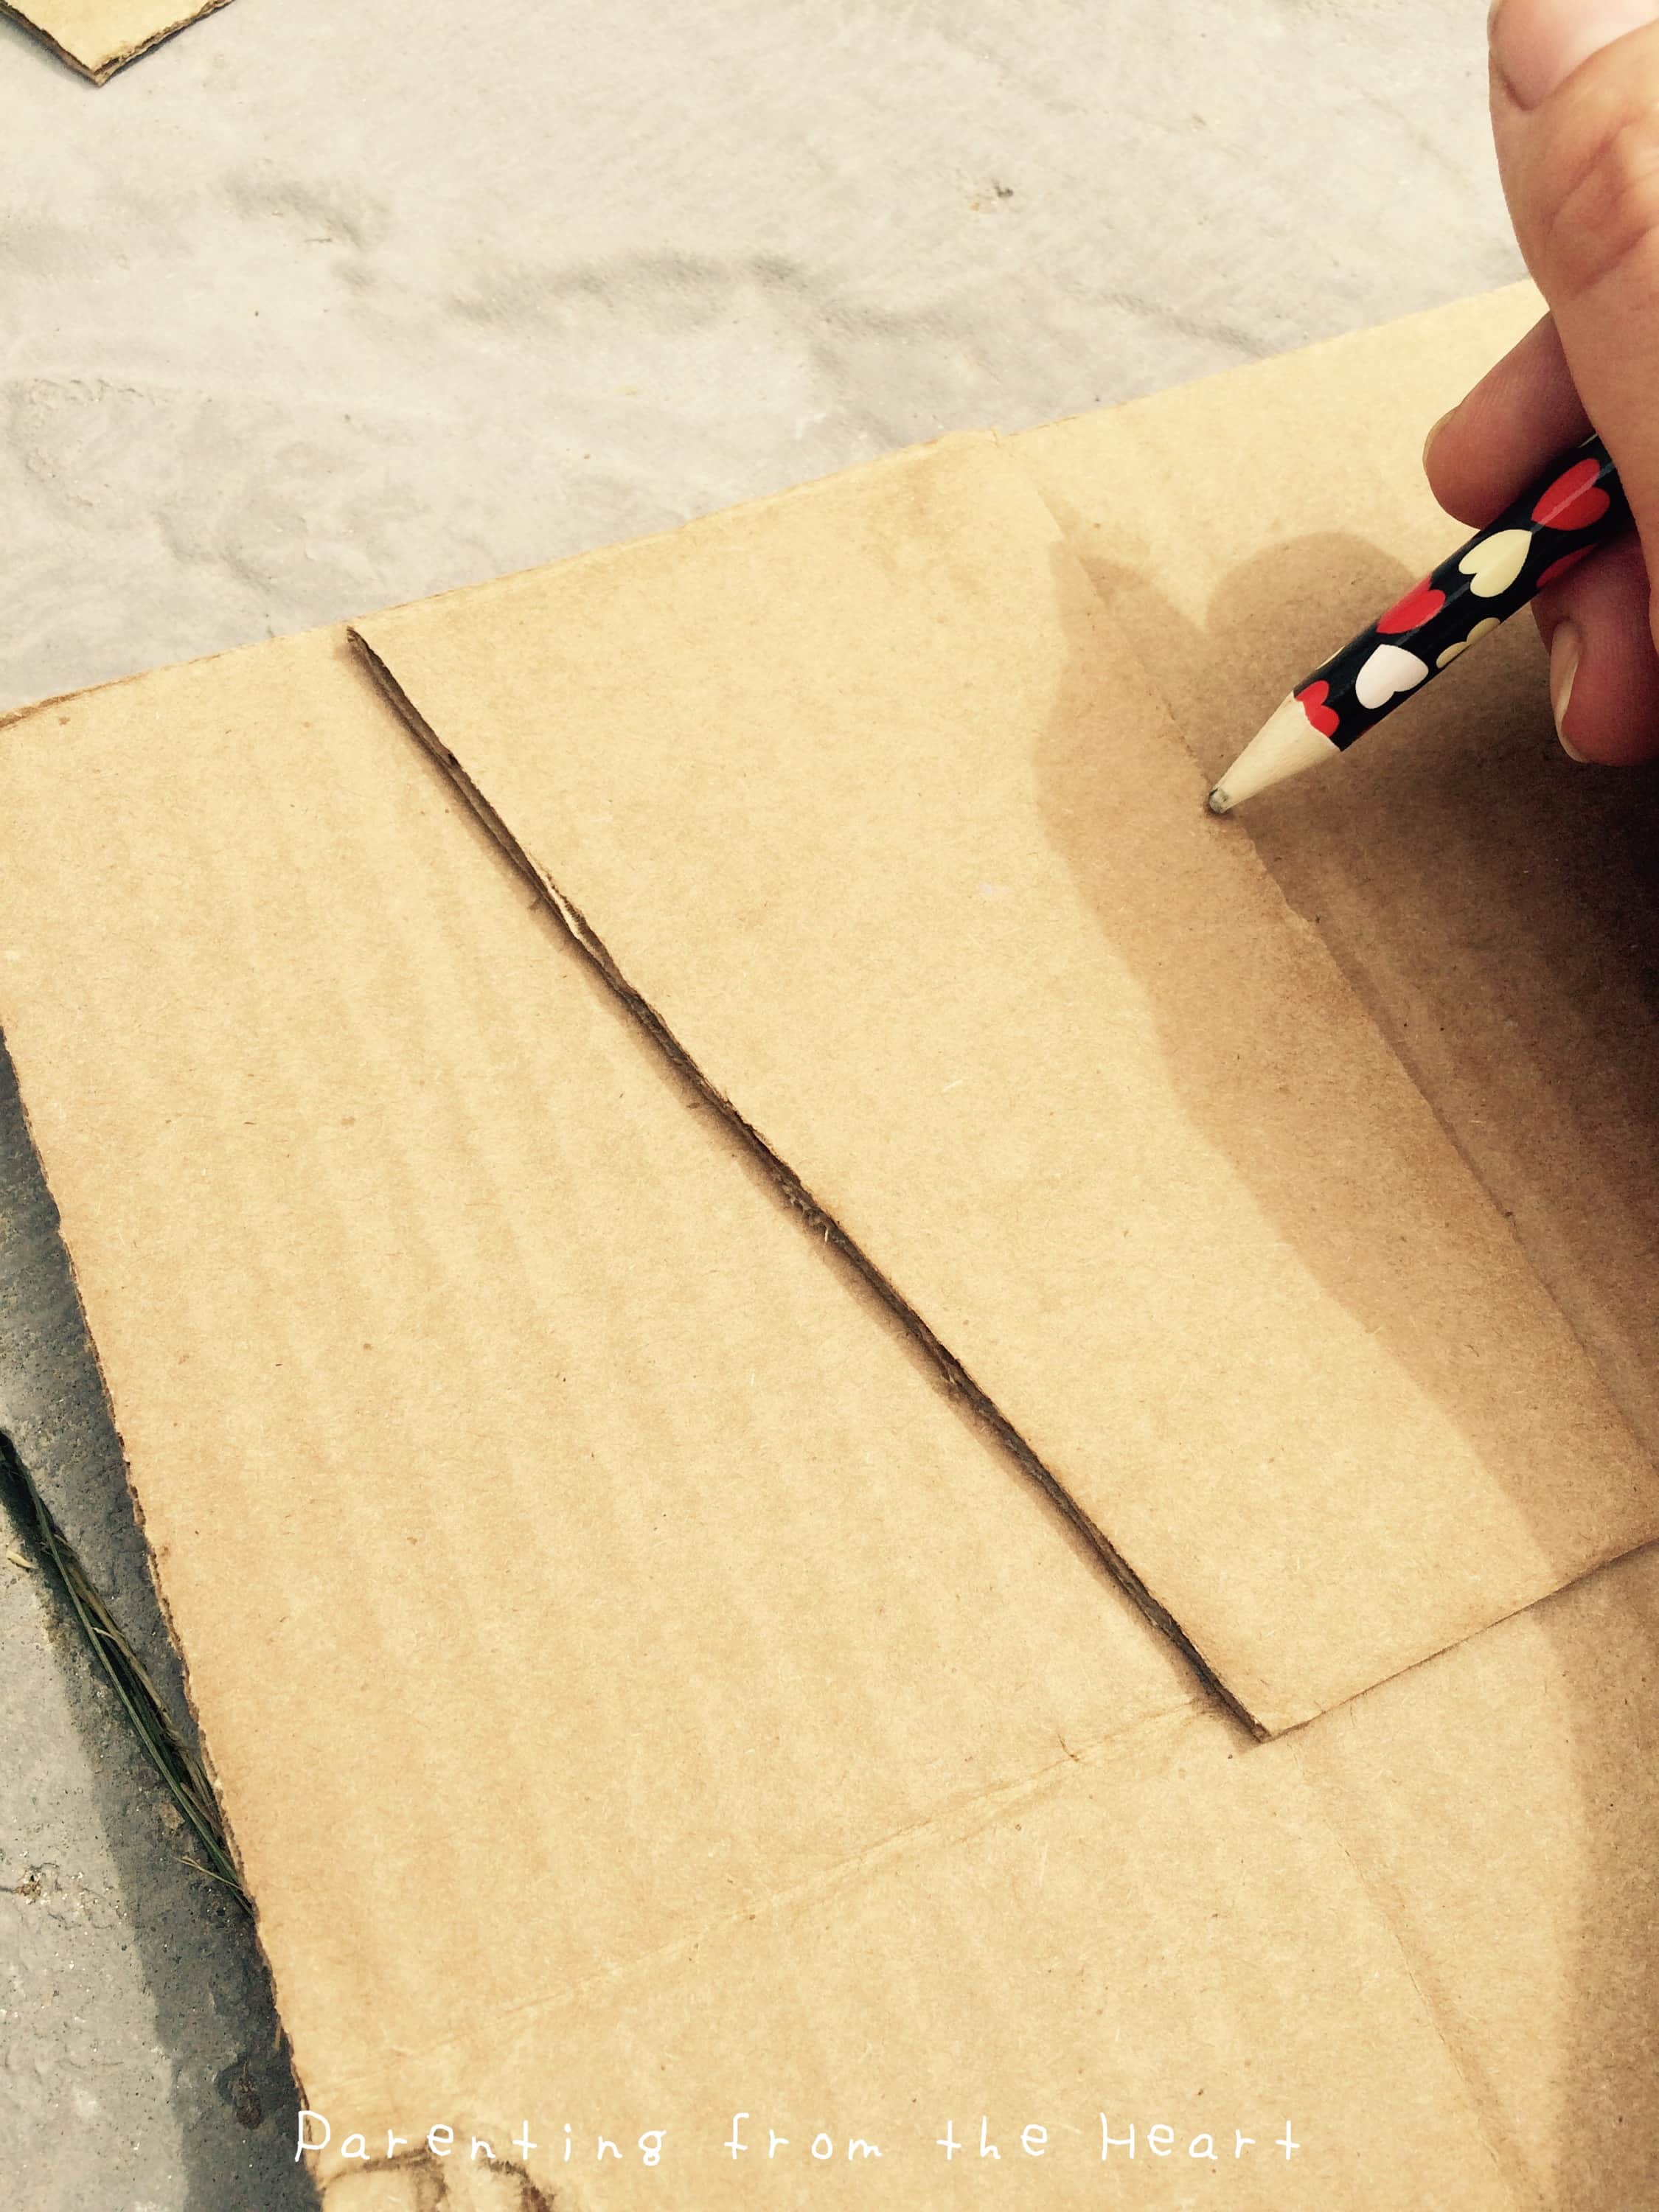
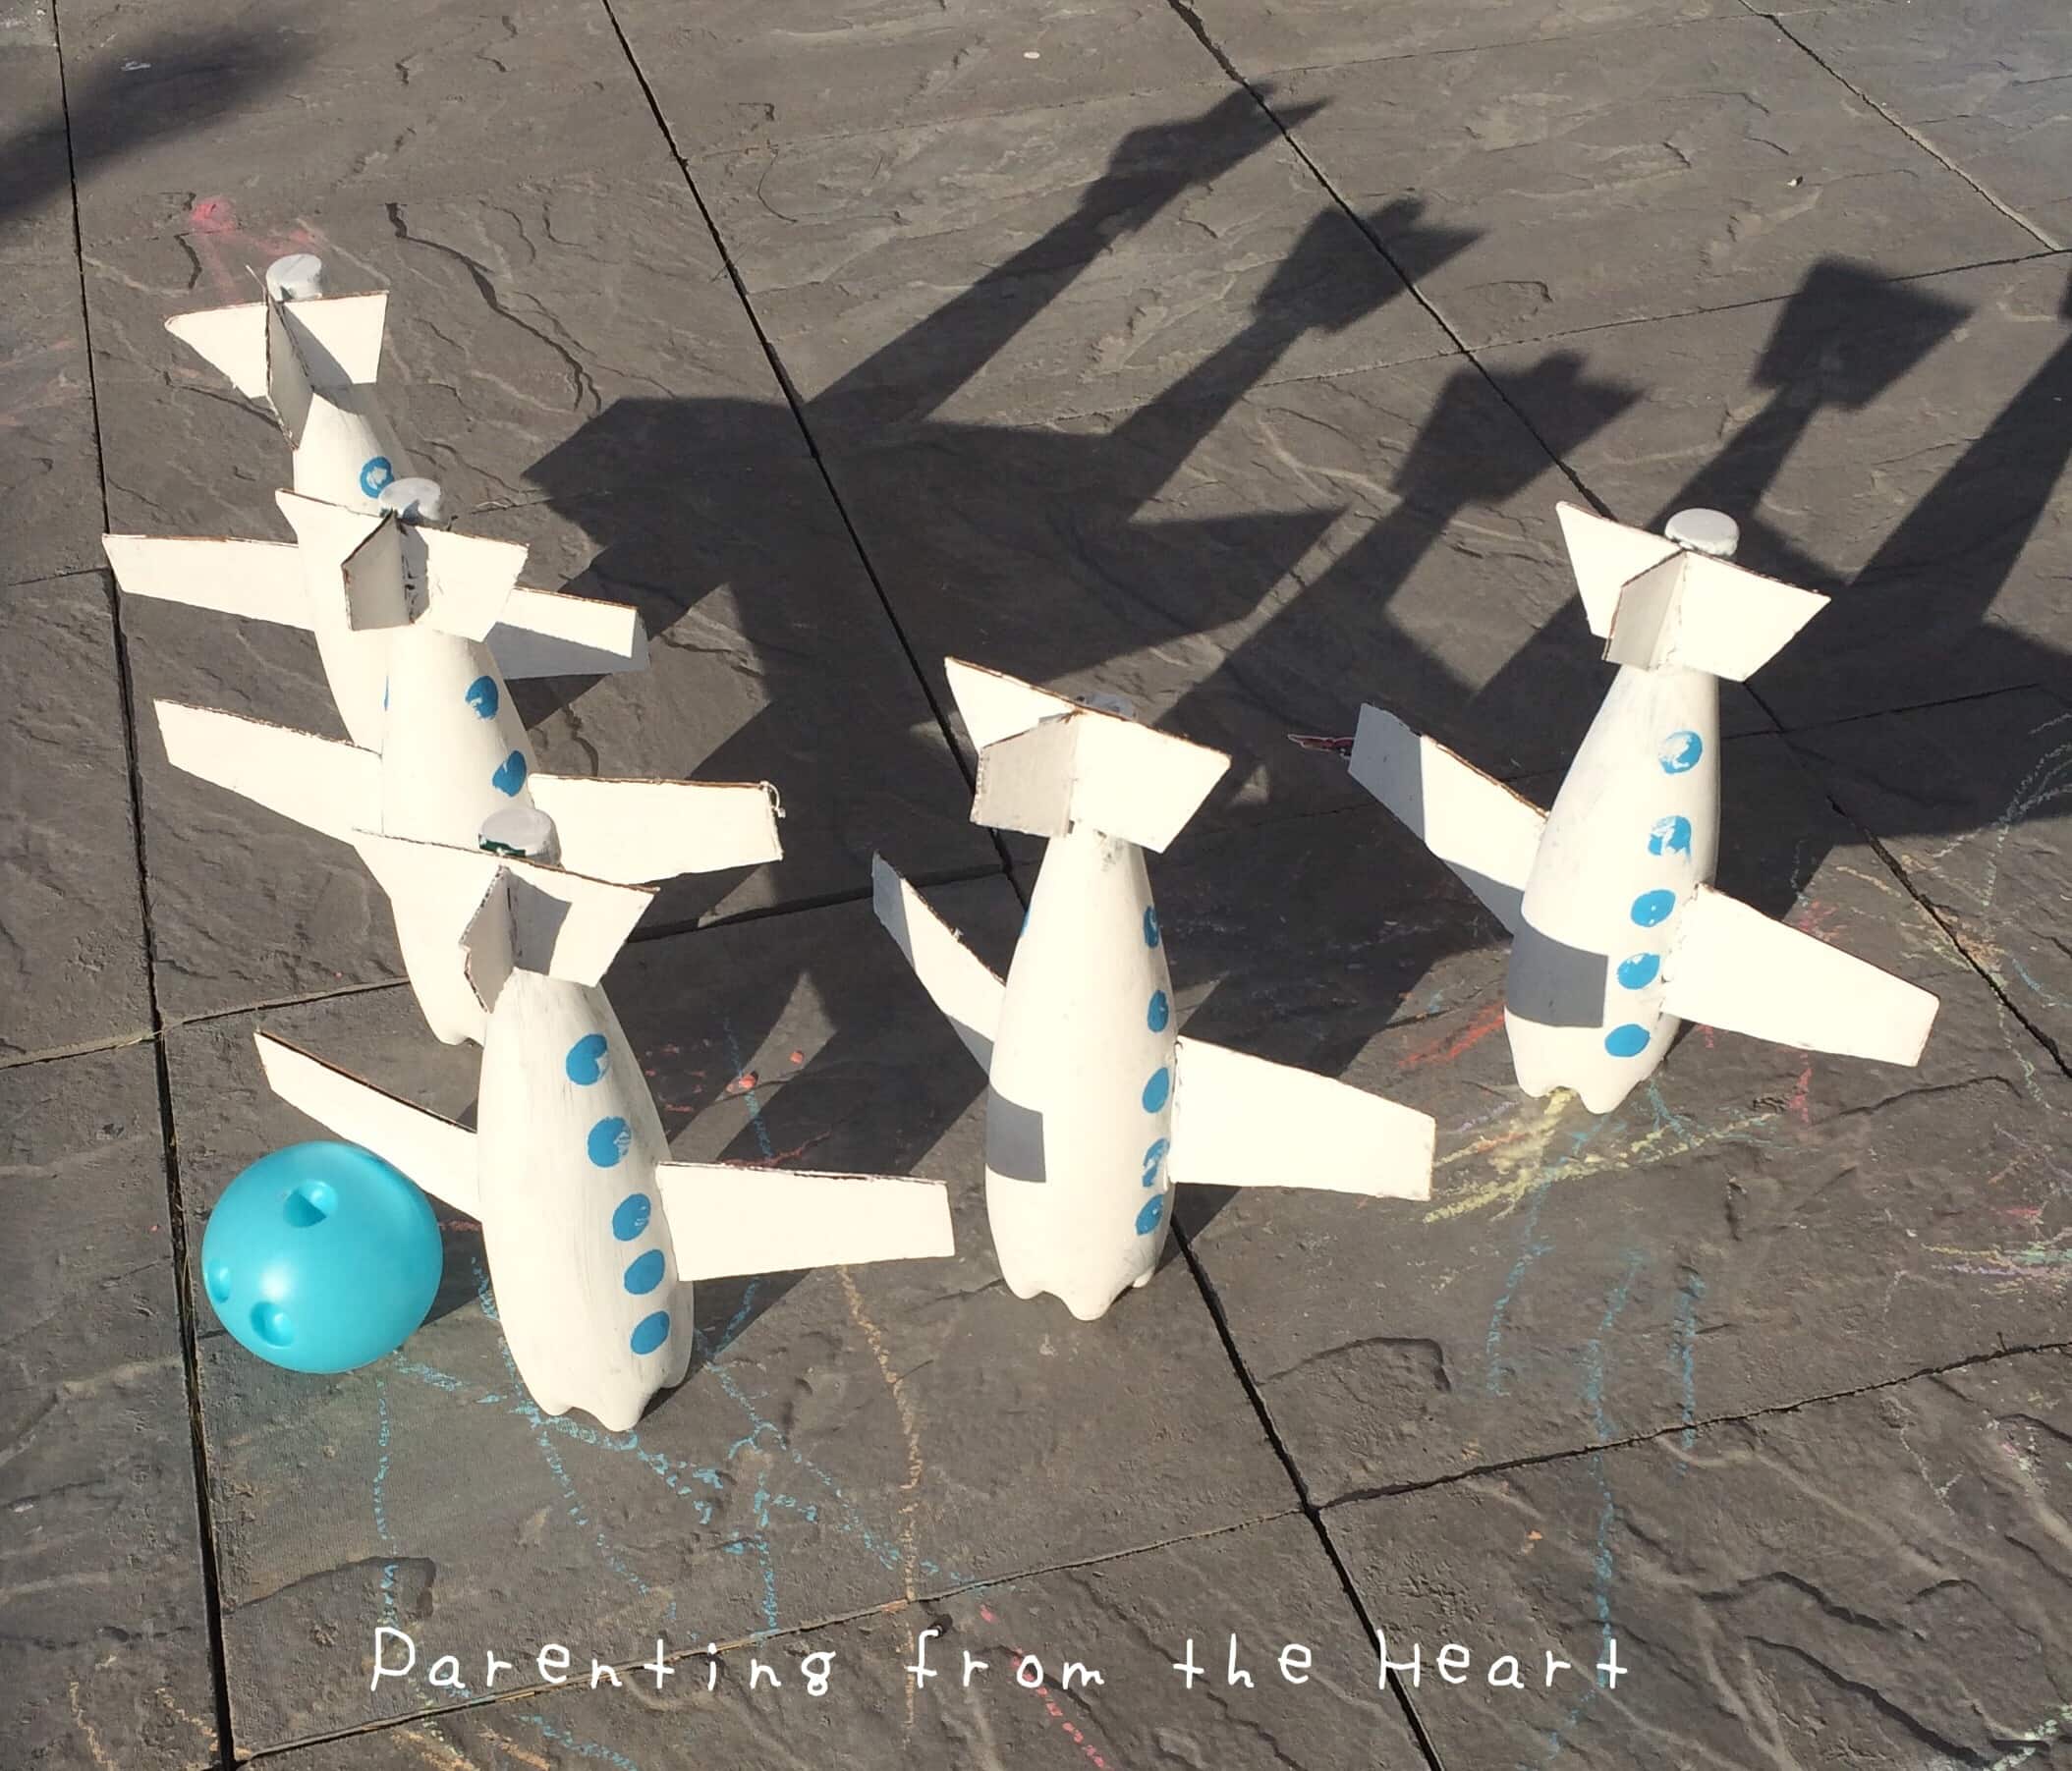
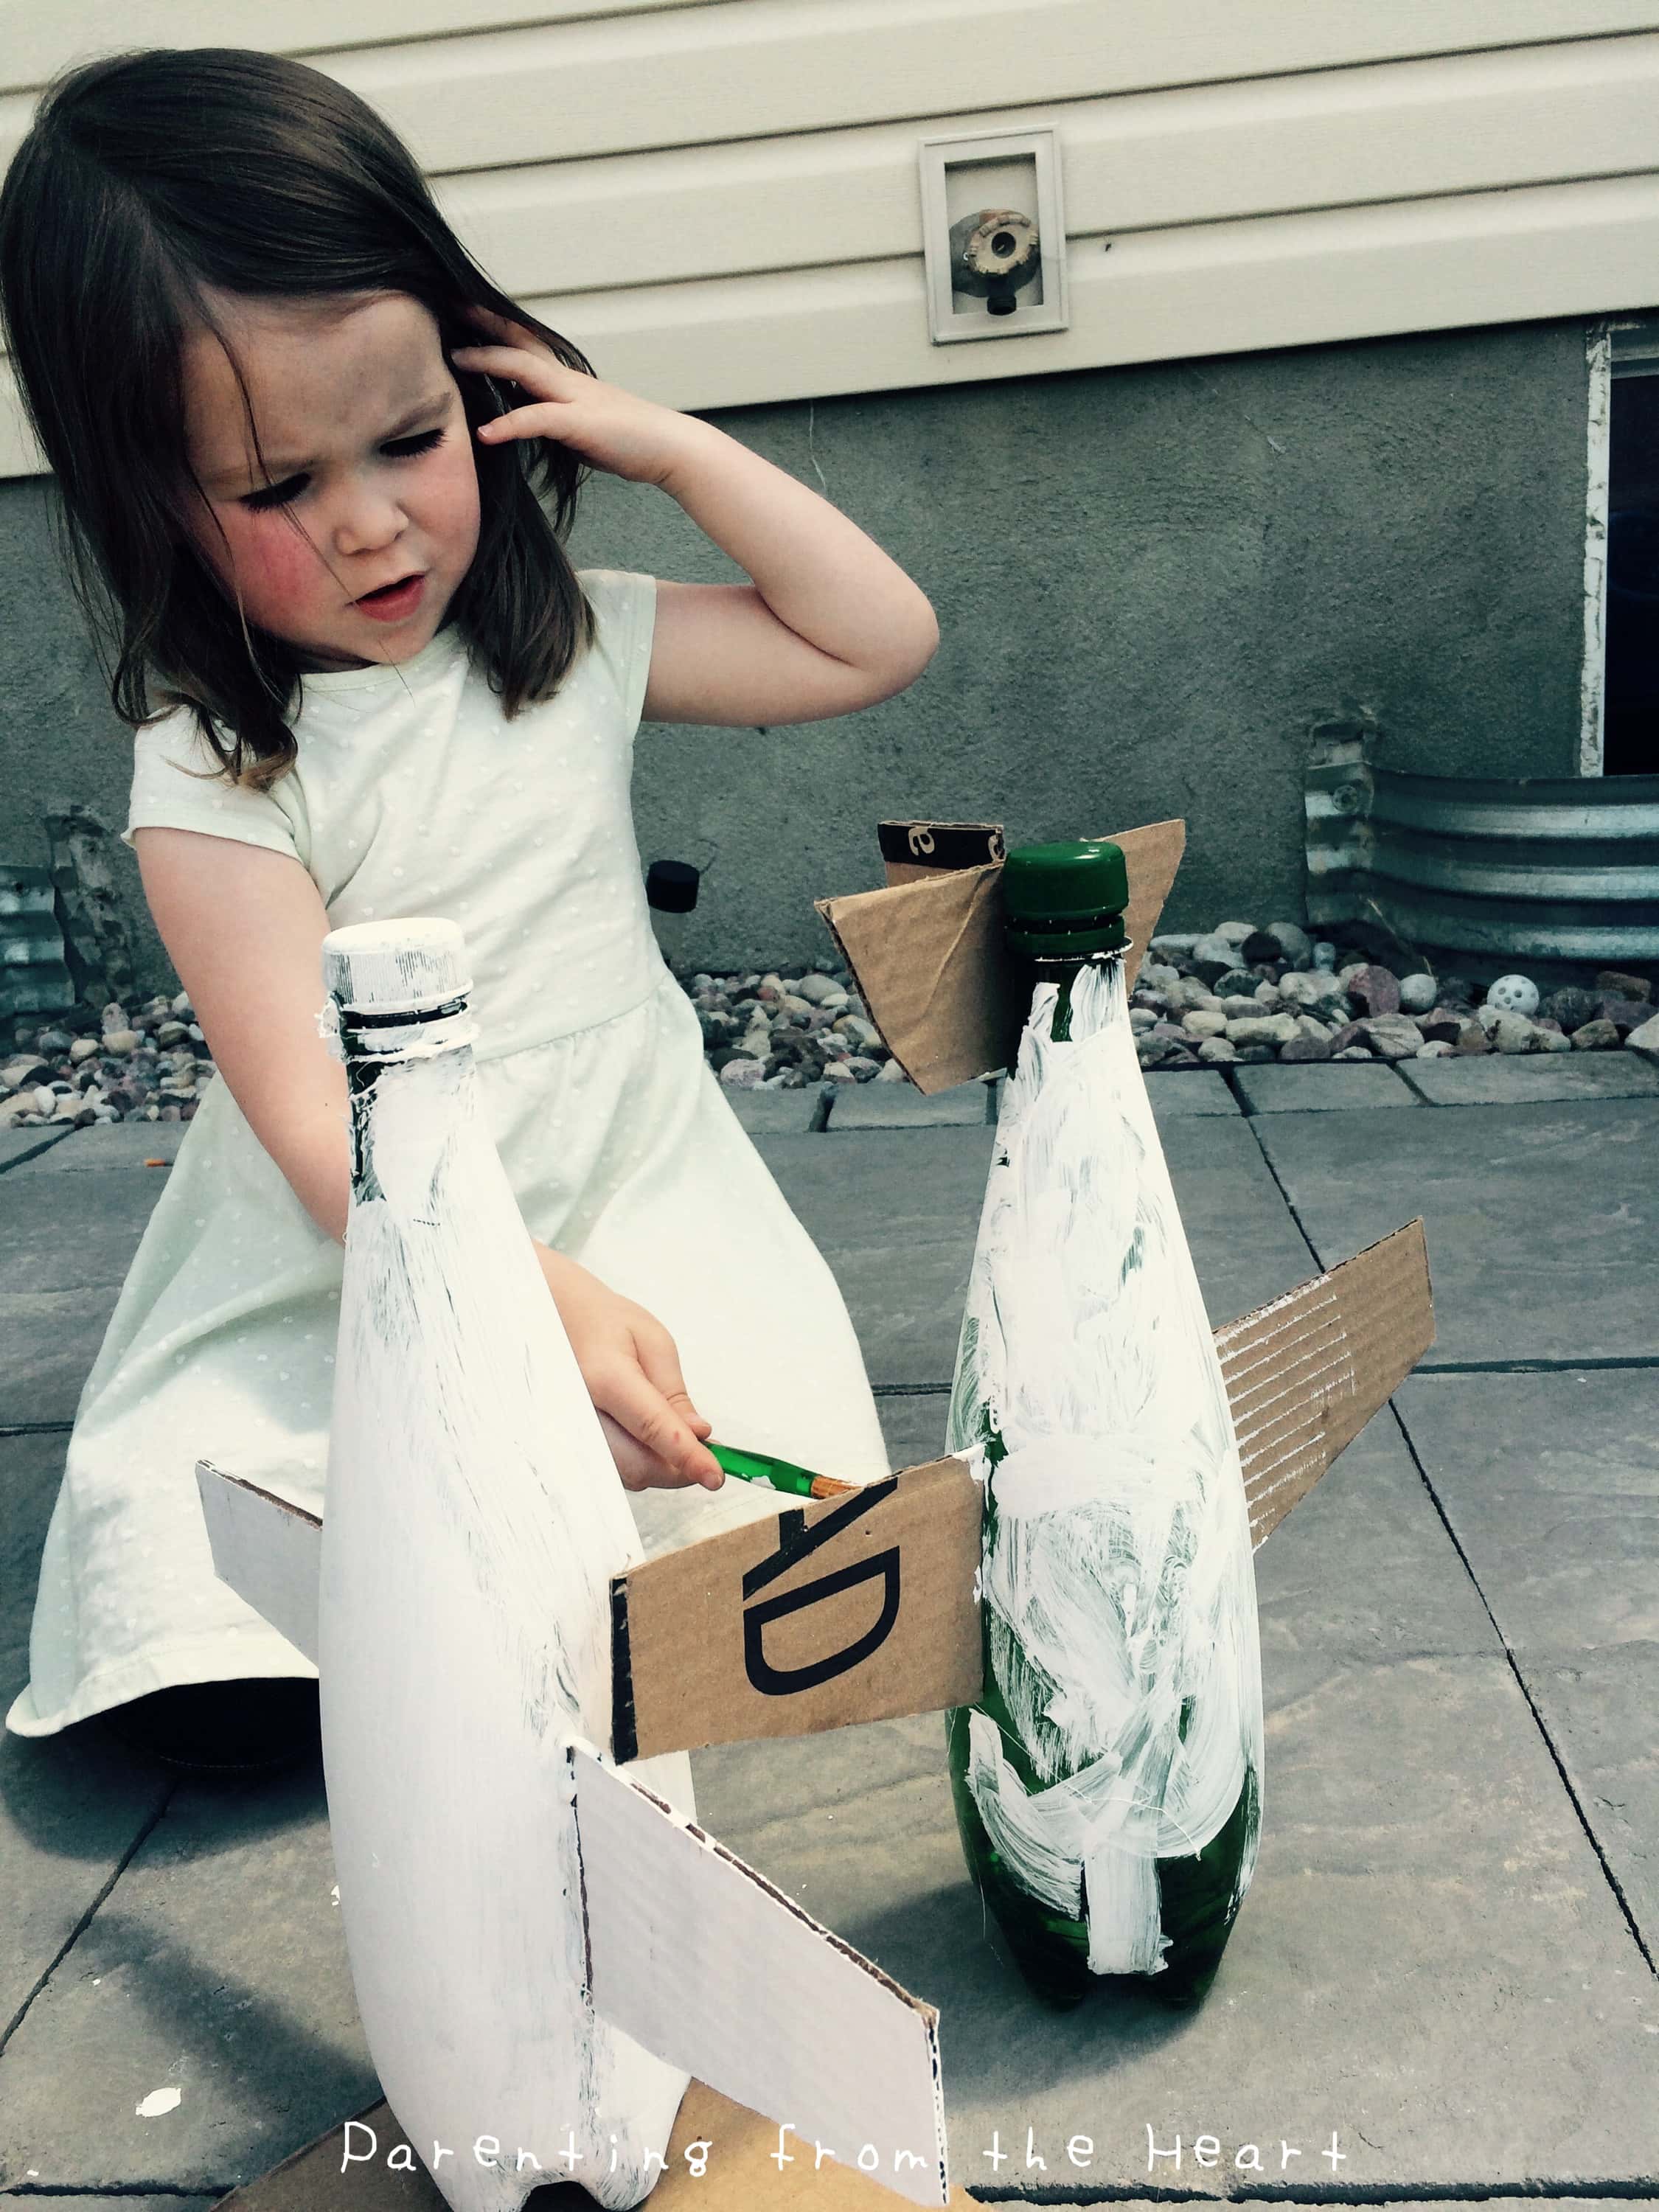
For the wings, take your ruler, I marked 2.25 inches along the width of the cardboard and then drew a 4 inch line perpendicular from one of the ends of the 2.25 inch line. At the end of that line, I marked 1.5 inches which ran parallel to the 2.25 inch line. Then, I connected the other ends of the line using a ruler. I cut this first wing out and then traced it nice times, making a total of 10 wings. To make the tail, I traced a rectangle 2 inches wide, 1 inch thick and rounded the top two edges. I traced this 8 times and then cut 3 of them in half. I glue gunned the wings to the bottles and glued the 1/2 pieces of cardboard to the middle of the full pieces, affixing them perpendicularly. Then both my daughter and I took to painting the bottles.
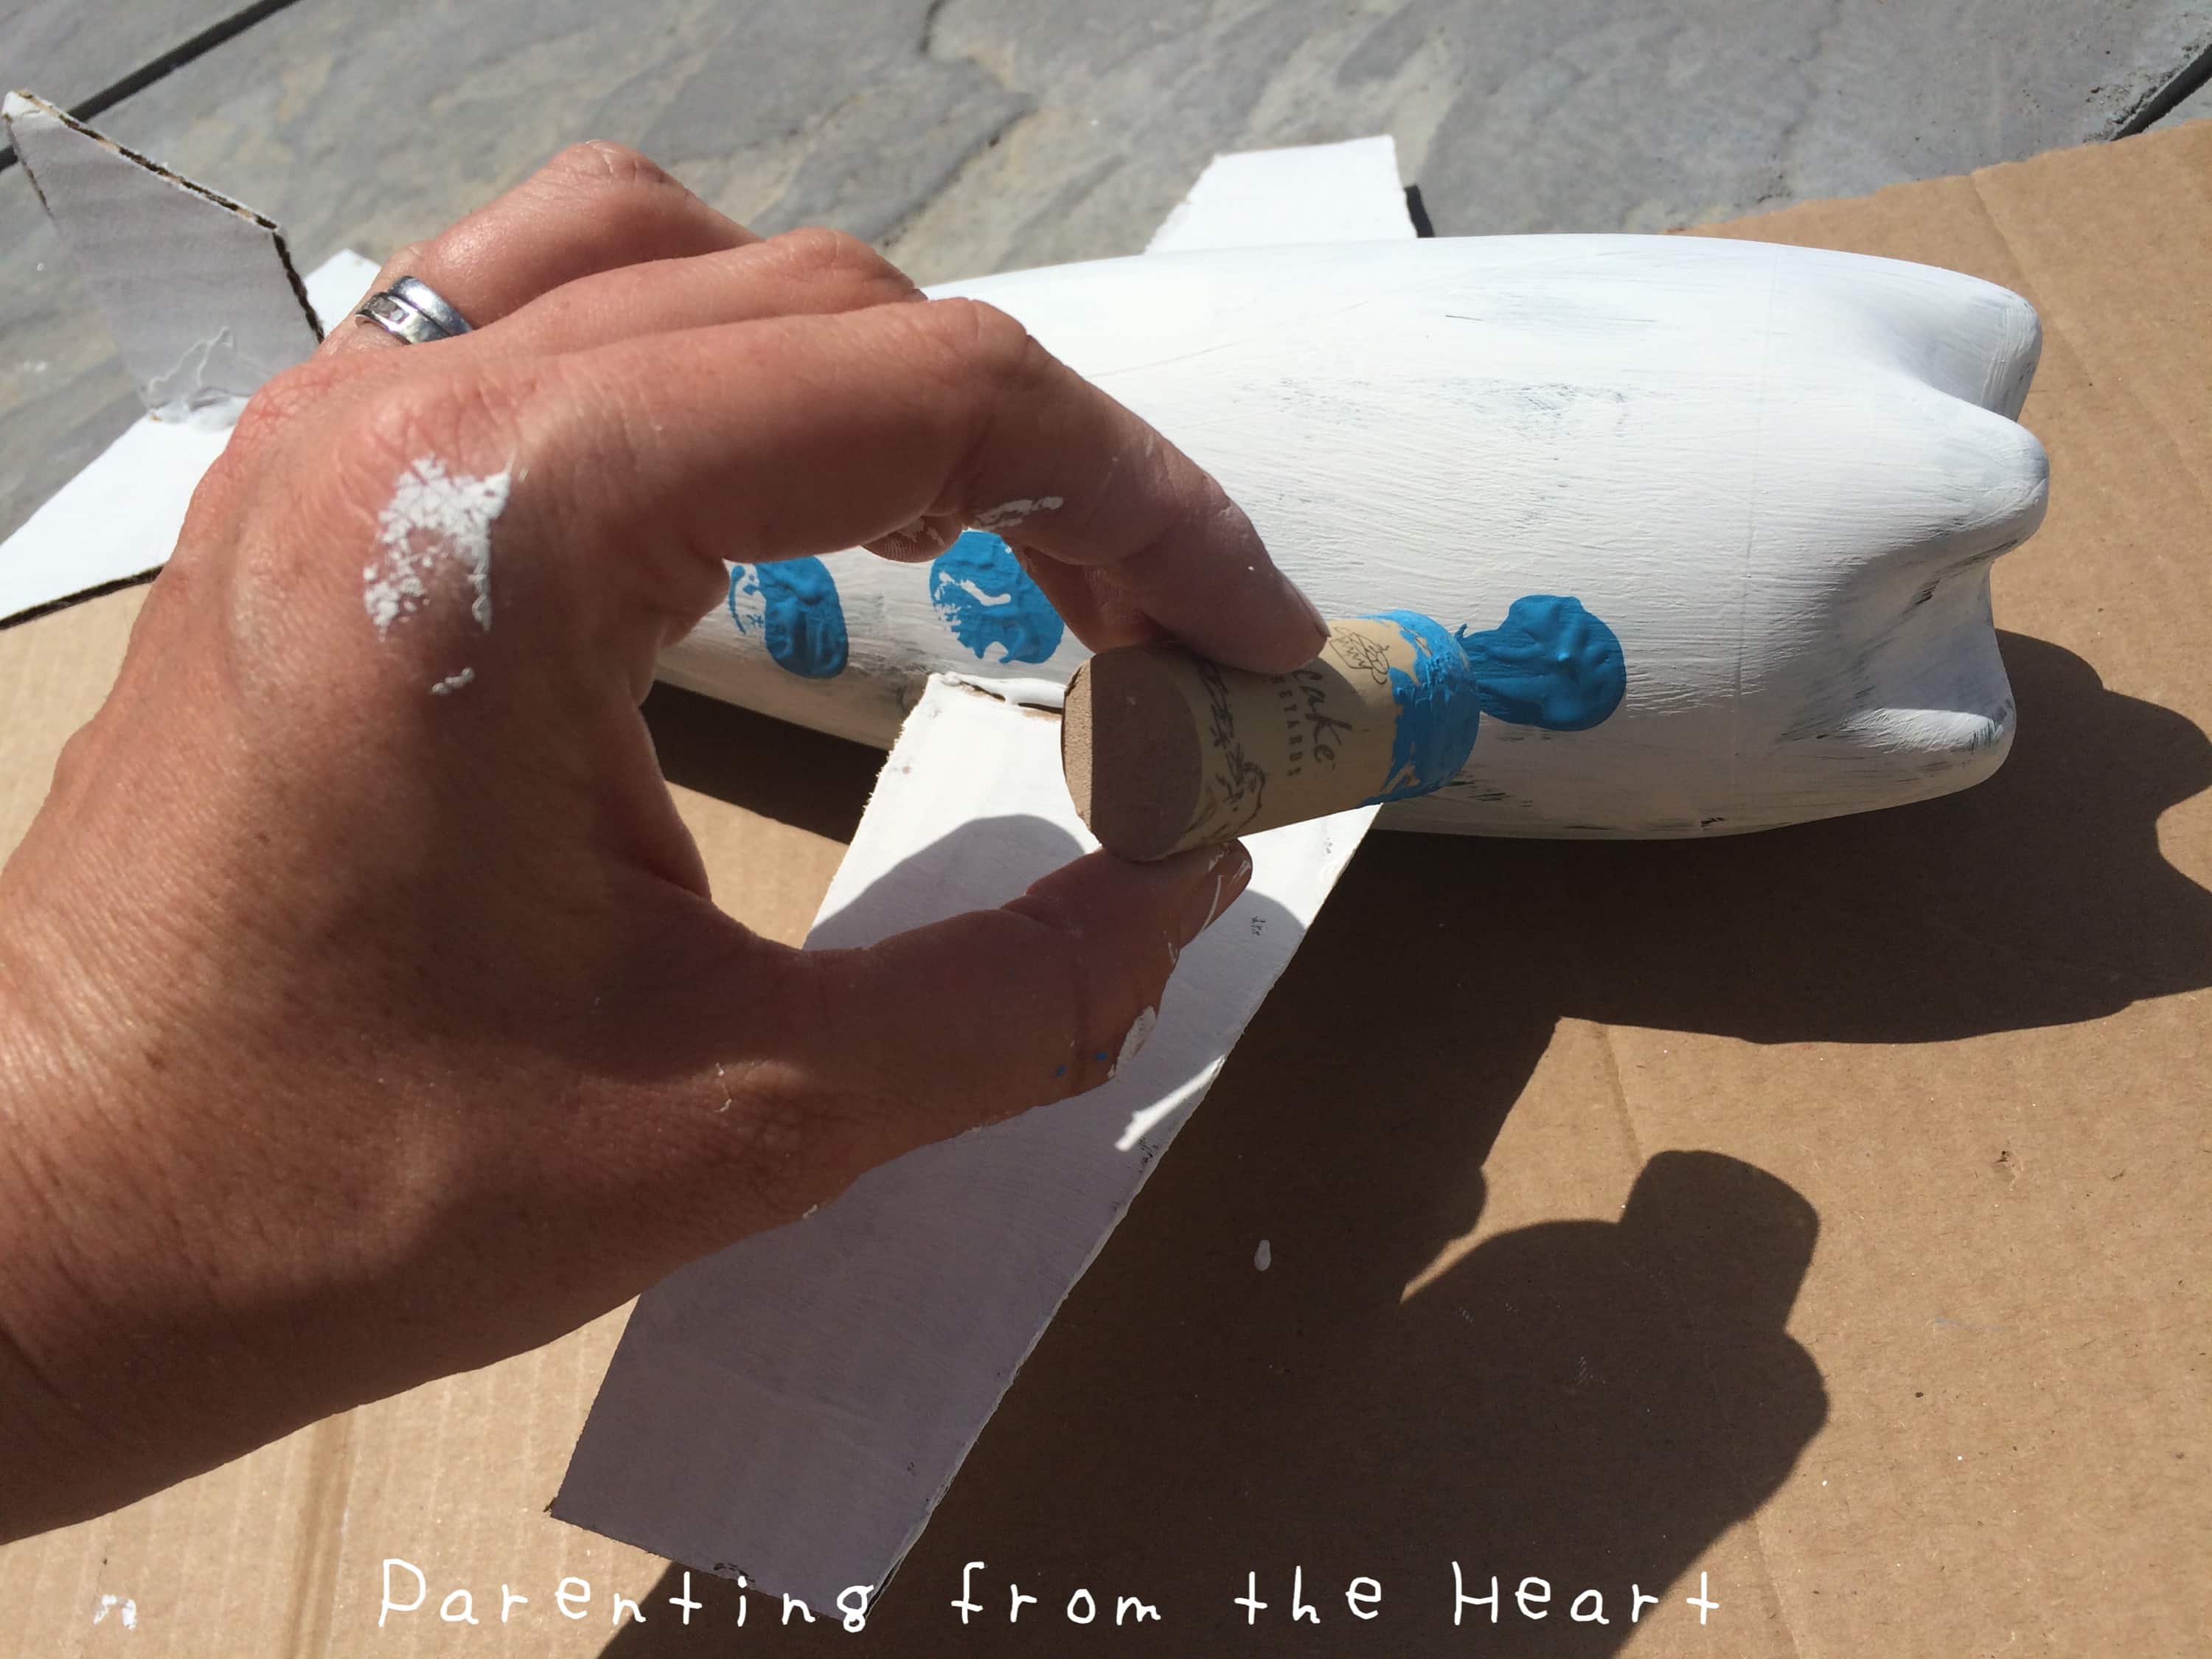
Once the white paint had dried, we dipped wine corks into blue paint and then stamped them where the windows should be. Once they had dried, I sprayed them with lacquer because we would be using them outside where the kiddie pool was set-up and we would have water guns.
Do you have any cool birthday ideas? Please share them so I can pin them and share them with my readers. Also if you have any additional questions about Candles and Favors, please let me know. They’re a fantastic company <3
Disclaimer: For writing this post, I received gifts from Candles and Favors. All opinions are my own.
I wish stroller wagons were around when my boys were little. As a mom of three, I spent…
One of my fondest memories of my daughters is when they played with their kitchen set as little…
When my 2nd child was eight months old, I had surgery. All of a sudden, my purely breastfed…
Parent From Heart Parent From Heart is a group of like-minded moms passionate about positive parenting,
honest motherhood, and creating a supportive community for intentional parenting.
© 2026 by Parent From Heart. All Rights Reserved.