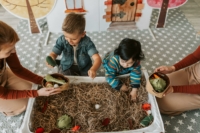
Necessity is the mother of invention. Well maybe necessity is a bit of a stretch. But when we…
Necessity is the mother of invention. Well maybe necessity is a bit of a stretch. But when we decided on Thomas the Train as the theme for my son’s first birthday, and Walmart was sold out of all tank engine themed birthday decor; the dollar store didn’t have anything; and neither did our local mall (see this post for another time this happened), I got inventive. Ultimately, I used these on a birthday sign, goodie bags, and, as explained below, fridge magnets.
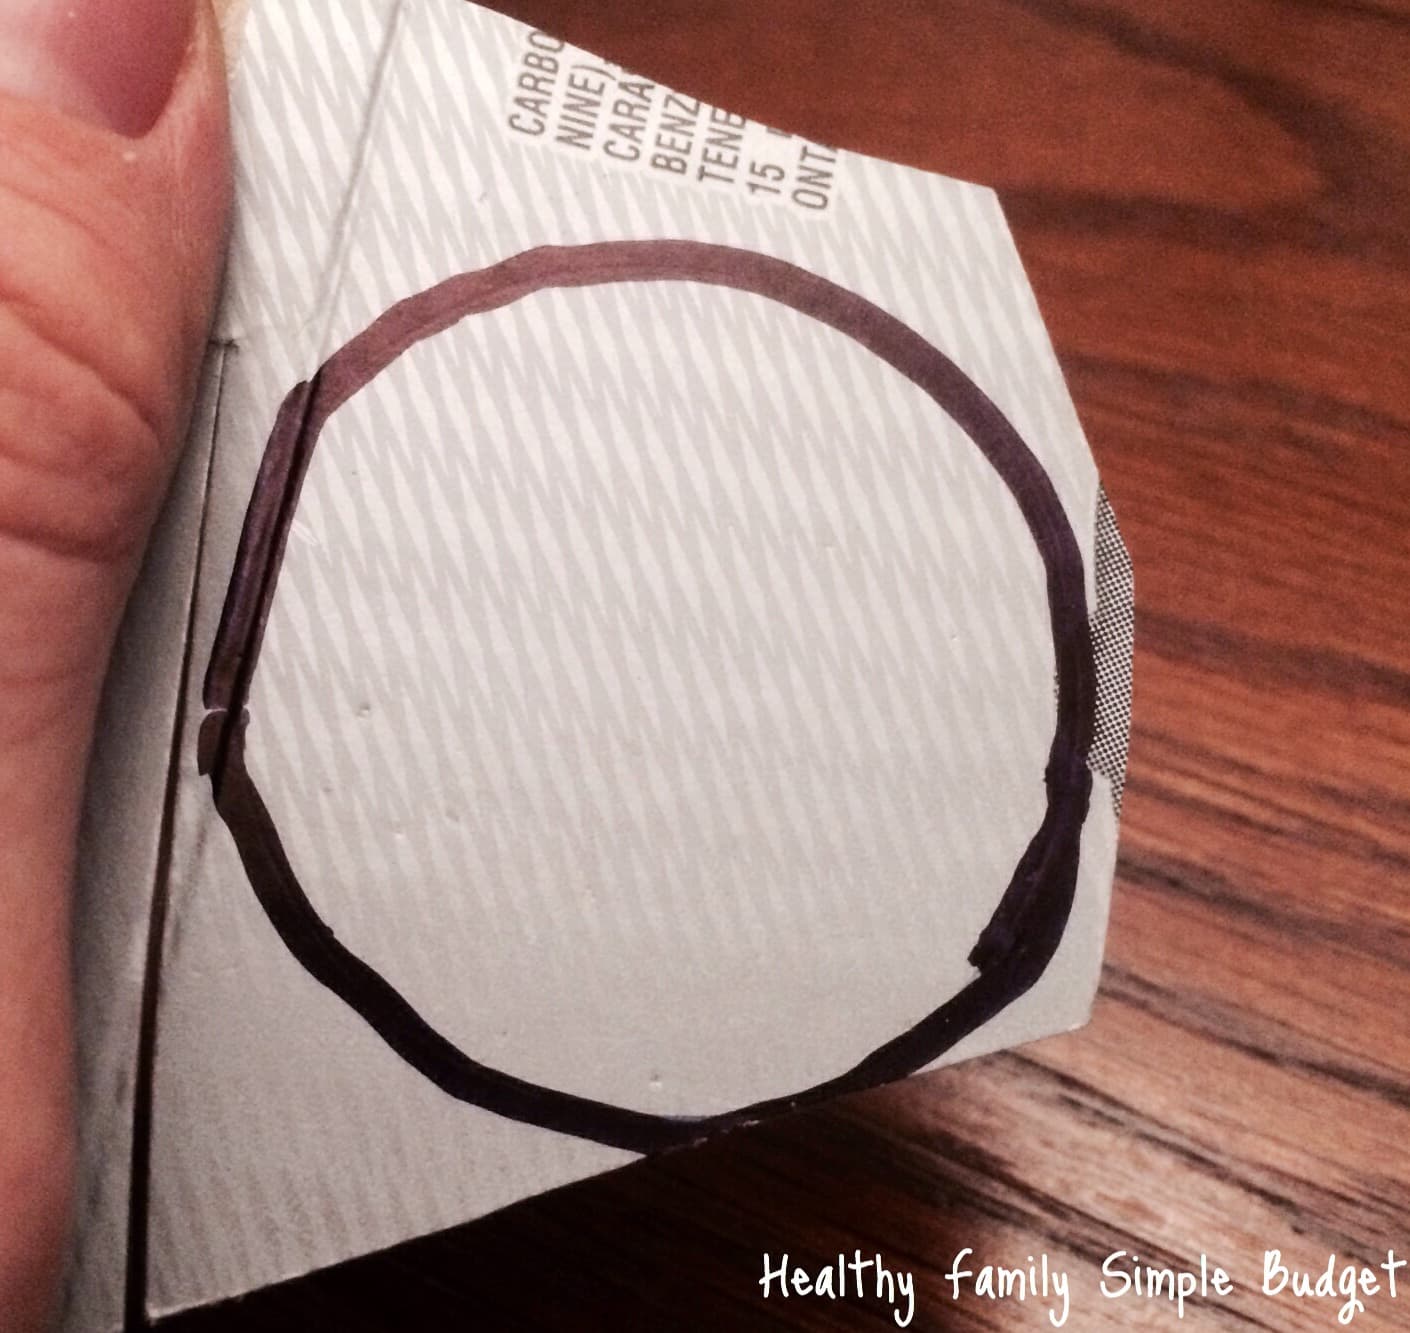
The great thing about using a diet coke box is that it already has circular impressions from the cans. I outlined them in black sharpie, and cut out as many as I wanted.
Then, I simply found a household item with a circular base slightly bigger than the first set of circles. With pencil, I traced its diameter on to black Bristol board. At the top of the circle, I traced roughly an inch of a board book’s spine, holding it perpendicular to the circle. Then, I flipped the spine sideways and made a slightly smaller tracing running across the top of the first line, thus making Thomas’s chimney.
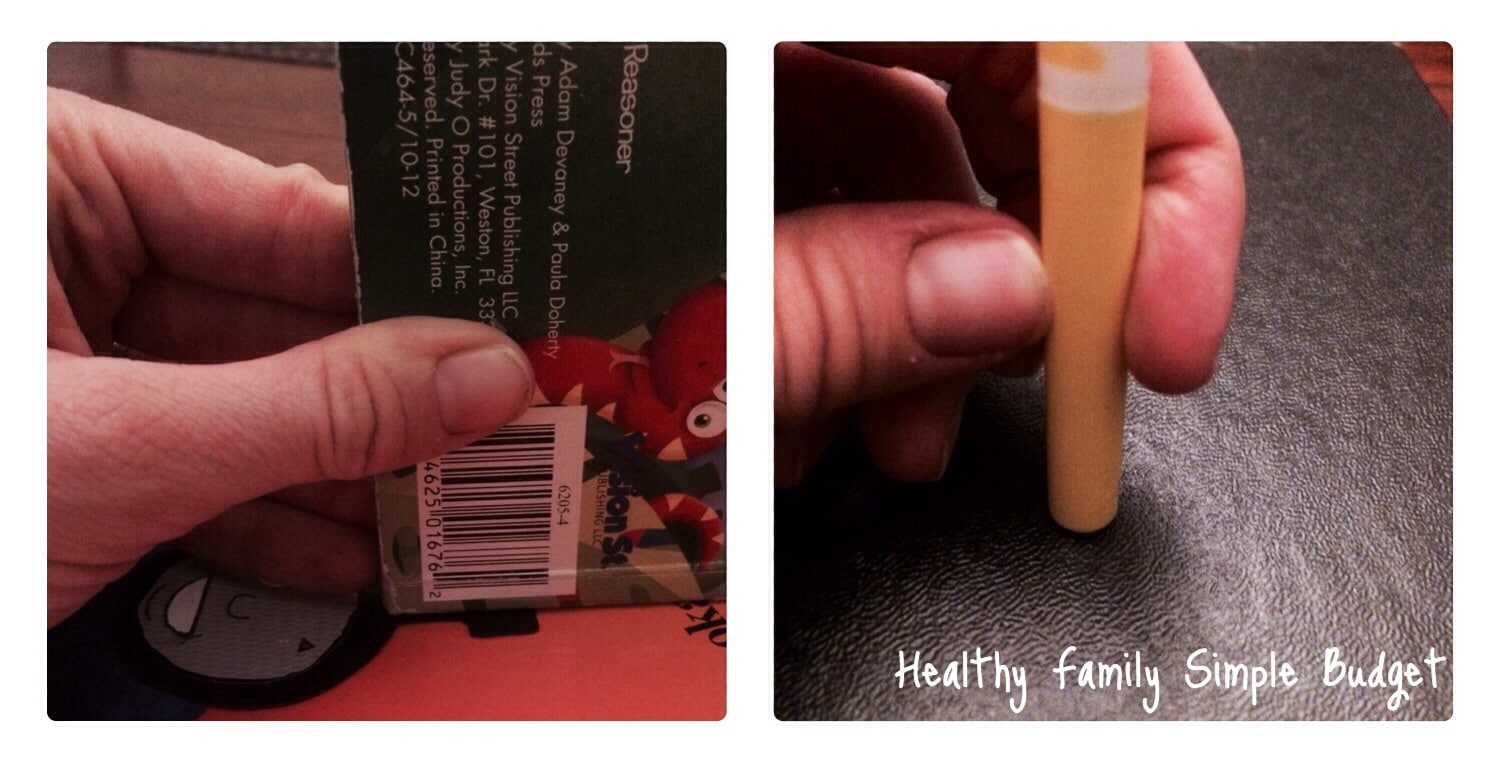
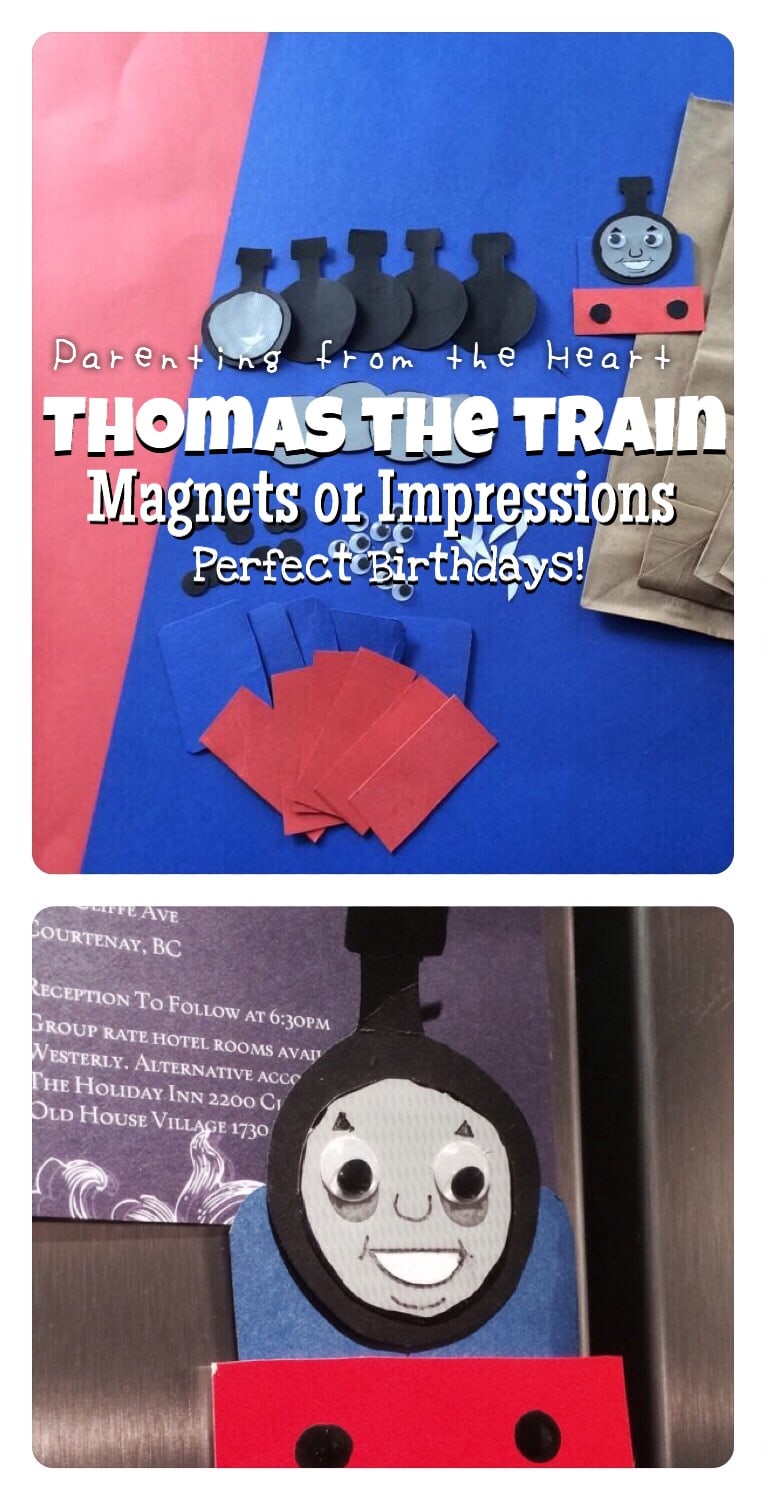
Again, on the black Bristol board, I traced the lid of a thin crayola felt pen twice for each tank engine’s base. I cut out all black Bristol board tracings and flipped them (so the pencil would not be visible). We then glued the grey circles into the centre of the black ones and paced our eyes on. I traced a rectangle wider than Thomas’s head on to the blue Bristol board and again flipped it so the pencil wouldn’t show. I then rounded the edges of the blue rectangle. We glued this to the back of Thomas’s head. I traced a thinner, longer red rectangle for the bottom of Thomas. This was glued on top of the blue body. I cut out small “D” looking shapes from the white paper and we glued them as Thomas’s mouth.

Then I outline the mouth with a fine tipped sharpie, drew on the nose (basically a U shape), and over the eyes drew concave-like triangles as his eyebrows. We glued on black circles (another time I just used black acrylic paint/ sharpie) to act as the buffers on Thomas’s body. If you used coloured paper, I would recommend adhering the entire piece to some cardboard to reinforce it.
Then I cut out, a piece of magnet from the remaining outline from magnet punch-outs we had, and glue gunned it on. I’m sure Elmer’s glue would be fine, it just takes longer to dry.
Et voilà! Thomas fridge magnets!

To make goodie bags, sub the magnet for a small paper bag 🙂
I also made my son’s birthday sign by using these on red and blue plates (dollar store) with painted letters to make a Happy Birthday sign. The ‘How To’ is here.
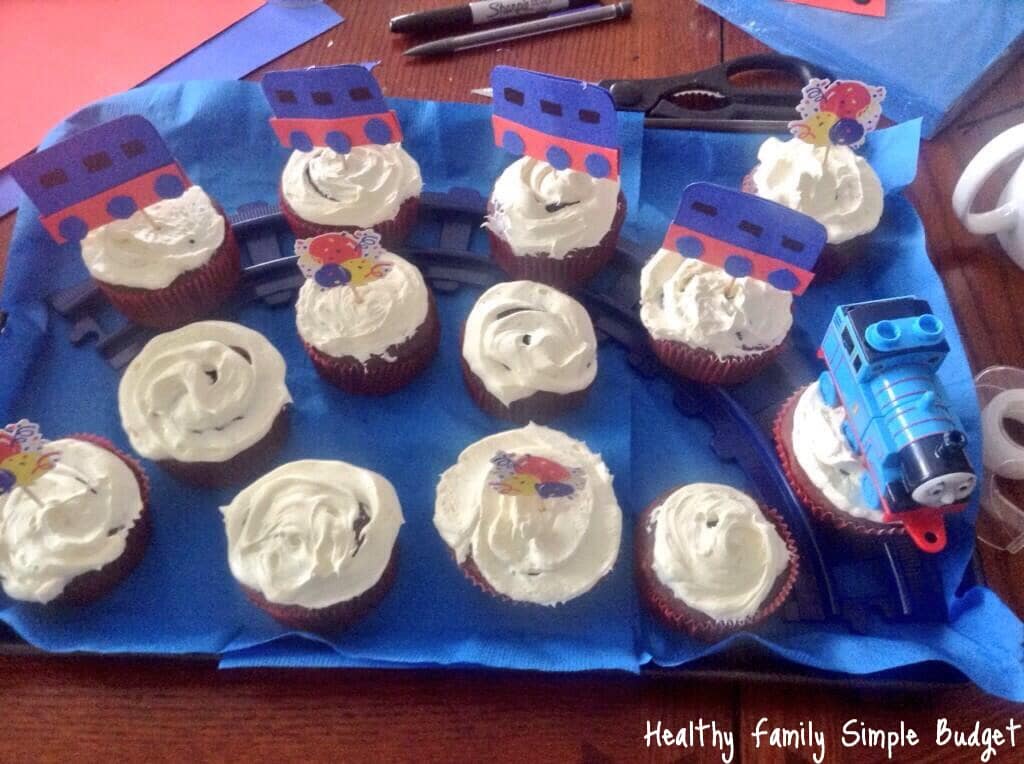
Below is how I made the cupcakes!
Have questions or a cool DIY birthday decor/ kids’ craft item you’ve done, please share your link or tell me about it below!
Halloween is such a fun time for getting artsy with the little ones. There’s just something about pumpkins,…
There’s something about kids and dinosaurs that just goes together. Is it the fascination with these prehistoric creatures?…
I won’t deny it. No matter my age, I look forward to baby shower prizes just as much…
Parent From Heart Parent From Heart is a group of like-minded moms passionate about positive parenting,
honest motherhood, and creating a supportive community for intentional parenting.
© 2026 by Parent From Heart. All Rights Reserved.